The Archon
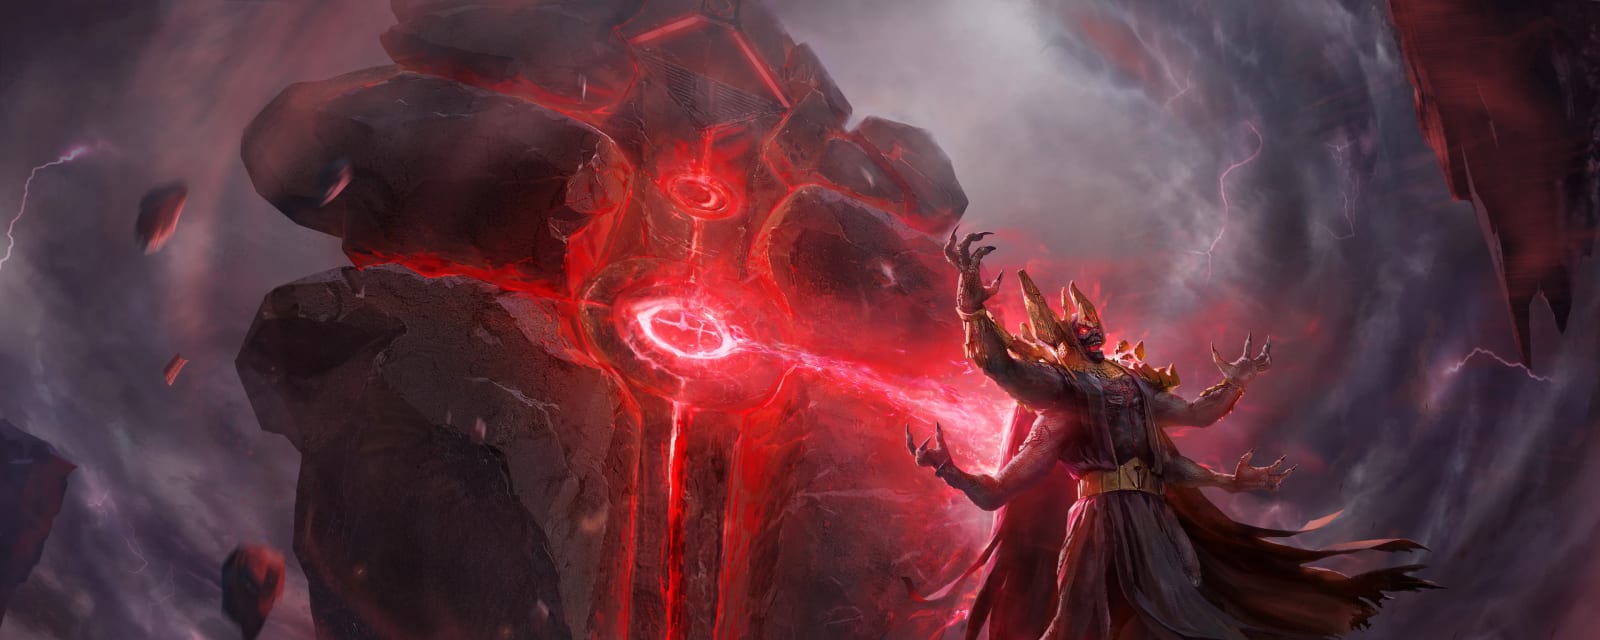
The Archon is Vanguard Zombies' round-based finale, set across the Eastern Desert. Its main quest — There Archon Be Only One — rebuilds Pack-a-Punch from two ghostly parts, drops the crew into the Dark Aether, then works through three Trials (Mindfulness, Resilience and Sacrifice), earning the Decimator Shield along the way, before defeating the Elder God Kortifex through the Construct's three exposed eyes.
Quick answers
The Archon is Vanguard Zombies' round-based finale, set across the Eastern Desert. There Archon Be Only One rebuilds Pack-a-Punch from two ghostly parts, drops the crew into the Dark Aether, then works through three Trials — Mindfulness, Resilience and Sacrifice — earning the Decimator Shield along the way, before killing the Elder God Kortifex through the Construct's three exposed eyes. Rated Hard, 45–75 minutes, solo-capable.
How do you complete the The Archon Easter egg?
- Round-based main quest for 1-4 players, fully solo-capable: Pack-a-Punch ritual → Dark Aether survival → three Trials (any order) → Kortifex boss.
- The Decimator Shield is the map Wonder Weapon, earned during the Trial of Resilience, and is strongly recommended for the finale (block + charged slam).
- Pack-a-Punch is rebuilt from two ghost parts and a soul defense at the Temple; prices 5,000 / 15,000 / 30,000.
- Point of no return: the portal beside Pack-a-Punch, entered after all three Trials — prep fully first (armor, ammo, Artifacts, Shield).
- Keep a shovel from its fixed spawn pool (Derailment, Bazaar, Debris Field or Tents) — both Mindfulness and Resilience need it.
- Build one cheap Pack-a-Punched weapon to feed the Trial of Sacrifice — the sacrificed gun is permanently removed, so never give up your main damage weapon.
- Special enemies: Boom Schreier, Sturmkrieger, Zaballa, Uberkrieger and Kortifex. Trial rewards often include Full Armor / Max Ammo / Full Power — use them before buying replacements.
What is the Wonder Weapon on The Archon?
Who is the boss on The Archon?
How long does the The Archon Easter egg take?
Can you do the The Archon Easter egg solo?
Is there a song Easter egg on The Archon?
What are the main areas on The Archon?
How many side Easter eggs are on The Archon?
When was The Archon released?
Map & Key areas
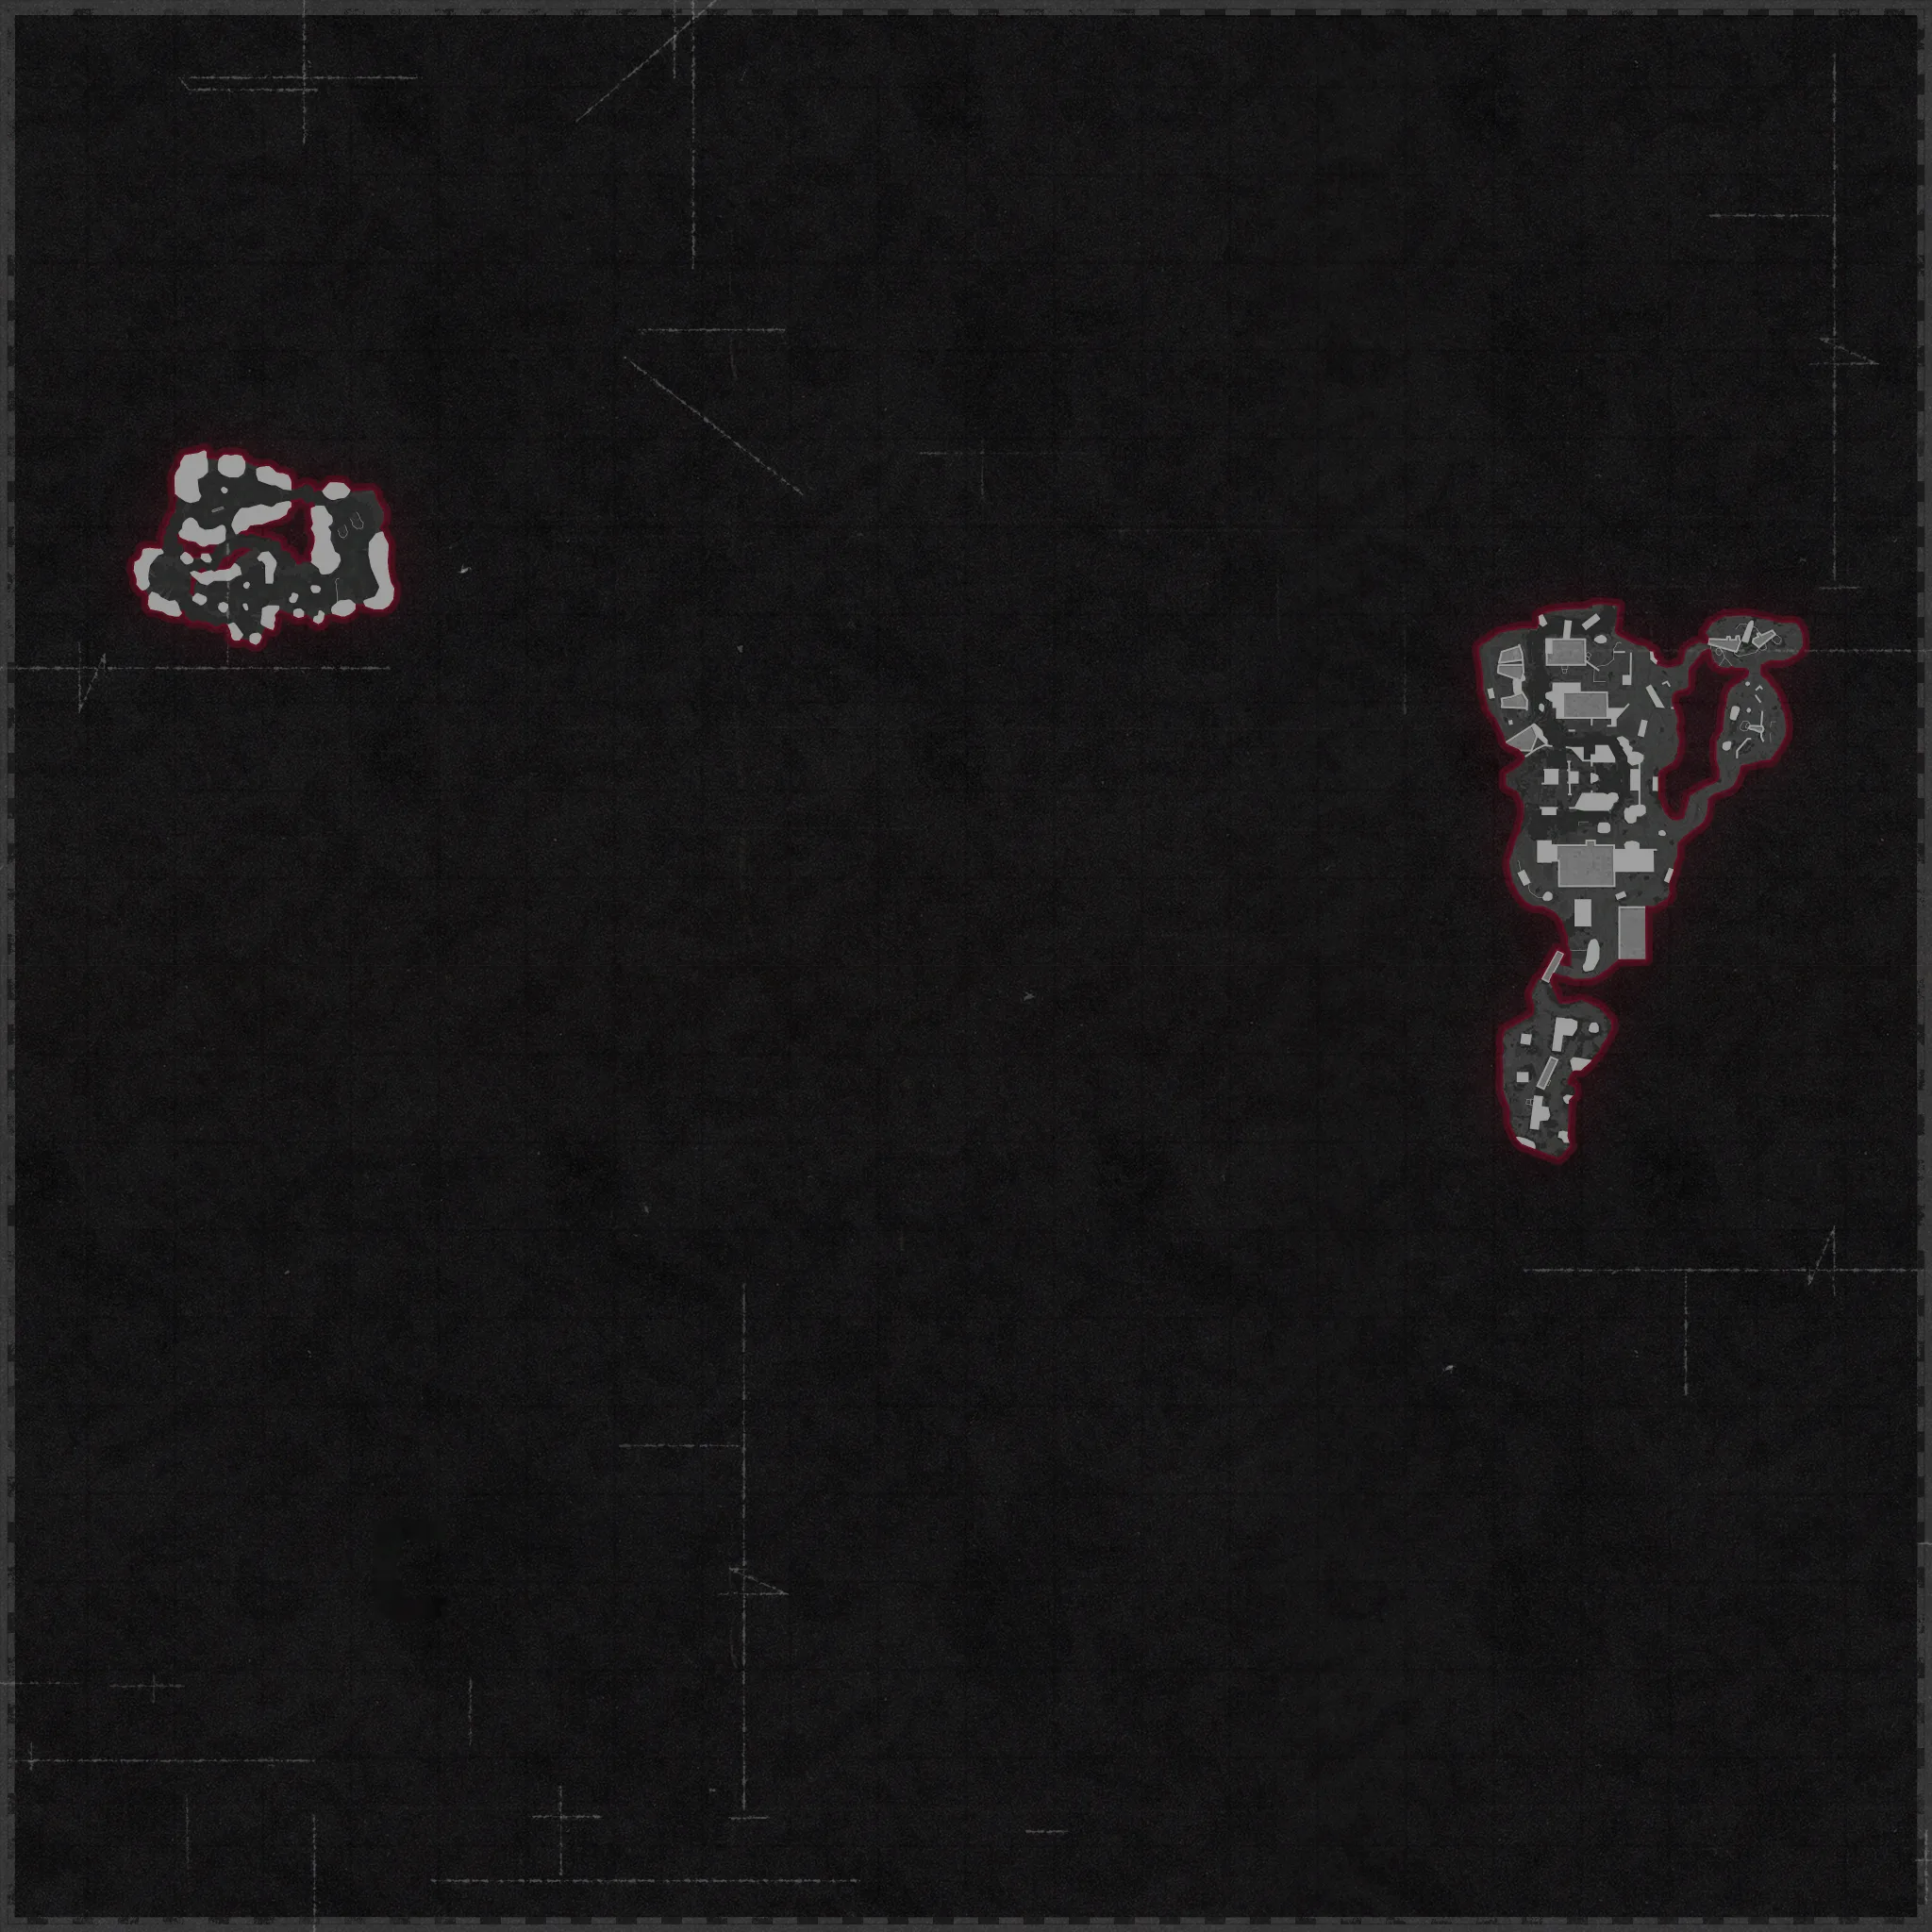
The map layout first, then the areas worth knowing by name. Map imagery © Activision, self-hosted.
Temple
The ghostly Pack-a-Punch machine and its soul-defense ritual; the relic stone and the Dark Aether portal.
Derailment
A Pack-a-Punch part, the Trial-of-Sacrifice torches, the cursed femur dig and an Uberkrieger spawn.
Spike
The second Pack-a-Punch part (on the aircraft wing).
Merchant Road
The Trial-of-Mindfulness obelisk and red orb; the west wall-buy for Molotovs.
Debris Field
The Trial-of-Resilience crystals and Shield wall; the Decimator Shield.
Bazaar / Tents
Cursed-item pickups (skull, officer's hat) for the Resilience carry challenges.
Steps at a glance
- Round-based main quest for 1-4 players, fully solo-capable: Pack-a-Punch ritual → Dark Aether survival → three Trials (any order) → Kortifex boss.
- The Decimator Shield is the map Wonder Weapon, earned during the Trial of Resilience, and is strongly recommended for the finale (block + charged slam).
- Pack-a-Punch is rebuilt from two ghost parts and a soul defense at the Temple; prices 5,000 / 15,000 / 30,000.
- Point of no return: the portal beside Pack-a-Punch, entered after all three Trials — prep fully first (armor, ammo, Artifacts, Shield).
- Keep a shovel from its fixed spawn pool (Derailment, Bazaar, Debris Field or Tents) — both Mindfulness and Resilience need it.
- Build one cheap Pack-a-Punched weapon to feed the Trial of Sacrifice — the sacrificed gun is permanently removed, so never give up your main damage weapon.
- Special enemies: Boom Schreier, Sturmkrieger, Zaballa, Uberkrieger and Kortifex. Trial rewards often include Full Armor / Max Ammo / Full Power — use them before buying replacements.
Before you start
What to have in hand before step 1 — from the loadout notes, from the walkthrough itself, and from the map's own quest documentation where the gate is never stated in a step.
- Carry the Decimator Shield into the Kortifex fight, but it does not replace a Pack-a-Punch III damage weapon on the eyes. — side Easter eggs
- Keep a shovel from its fixed spawn pool (Derailment, Bazaar, Debris Field or Tents) — both the Trial of Mindfulness and Trial of Resilience need it. — step 2
- Build one cheap Pack-a-Punched weapon to feed the Trial of Sacrifice — the sacrificed gun is permanently removed, so never give up your main damage weapon. — step 5
- The Dark Aether fight ends in a scripted team-down that returns you to the Eastern Desert — don't burn revives fighting it. — step 2
- If the Merchant Road red orb won't interact for the Trial of Mindfulness, the known fix is to go down and be revived, then retry — keep a self-revive or co-op plan ready. — step 3
- The portal beside Pack-a-Punch is the point of no return, entered only after all three Trials — prep armour, ammo, Artifacts and the Shield fully first. — step 6
Set aside 45–75 min · 1–4 (solo-capable)
Full walkthrough
The quest in the order this guide runs it — tap any step to jump to it, and it fills in as you tick steps off.
Rebuild Pack-a-Punch
Take the first ghostly part from the rail-car roof at Derailment and the second from the aircraft wing at Spike, install both at the Temple's ghostly Pack-a-Punch outline, then kill the ghost zombies near the machine until it absorbs enough souls to become solid and usable.
- Derailment part
- Spike part
- Temple soul defense — Pack-a-Punch solid
Enter the Dark Aether and take a shovel
Interact with the relic stone in front of Pack-a-Punch to start the cutscene and use the portal that forms. Fight in the Dark Aether until the scripted team down returns everyone to the Eastern Desert (don't burn revives on it). Grab a shovel from the fixed pool — the three Trials can now be done in any order.
- Relic placed, Dark Aether survived (scripted down)
- Shovel retained
Trial of Mindfulness
Dig out the red orb by the Merchant Road obelisk. It shows symbol sequences of three, then four, then five — stand on the matching ground runes in order and clear each timed challenge. Interact with the obelisk to start the formal trial, then capture the marked runes without killing any zombies (retry on a later round if it fails). Bonus points and Full Armor confirm it.
If the red orb won't interact, the known fix is to go down and be revived, then retry — keep a self-revive or co-op plan ready.
- Symbol sequences 3 / 4 / 5 solved
- No-kill rune capture completed
Trial of Resilience → Decimator Shield
Shoot the correct outer Dark Aether crystal (Debris Field) to release an orb to the Shield wall, then complete three cursed-item carry challenges (sprint is disabled): the officer's hat (Tents), the skull (Bazaar upper floor) and the dug femur (Derailment). Collect the Decimator Shield from the Shield wall. Start the trial and use the Shield slam to destroy three Syphoncores (Shield wall, Venomous Vigor, Fiendish Fortitude), carrying the Demon Blood each drops to fill the Demonic Fountain.
- Three cursed items returned
- Decimator Shield claimed
- Three Syphoncores destroyed, fountain filled
Trial of Sacrifice
Carry three Molotovs and light all three Derailment torches together, then feed the red orb a disposable Pack-a-Punched weapon (permanently removed). The sacrifice strips armor and spawns an Uberkrieger — kill it with your retained weapon. Equip Ring of Fire from the nearby stone, start the trial, and charge every satellite obelisk by scoring six kills near each while standing in the Ring of Fire (a light beam confirms each). Rewards confirm completion.
- Three torches lit together
- Disposable PaP weapon sacrificed, Uberkrieger killed
- All satellite obelisks charged
Defeat Kortifex
Prep fully and carry the Shield, then enter the portal. Phase 1: shoot Kortifex's upper eye whenever the line is clear, blocking with the Shield under heavy pressure. Phase 2: shoot ground crystals for a red shard, throw it into a purple pod (~20-30s) for a blue corrupted shard, then hurl the blue shard at a floating pillar to crash it into the Construct and drop Kortifex's bubble shield — destroy the exposed eye. Phase 3: repeat the shard conversion; Kortifex now heals, so crash a pillar into him to interrupt it, then break the final eye in the exposed window. The completion sequence ends 'There Archon Be Only One'.
- Phase 1: upper eye destroyed
- Phase 2: shield dropped, second eye destroyed
- Phase 3: heal interrupted, final eye destroyed
Side Easter Eggs & extras
Everything beyond the main quest. Tap any entry to open the full how-and-where breakdown.
Decimator Shield
Earned in the Trial of Resilience: block to soak pressure, charged slam to destroy Syphoncores and control space in the boss fight. Carry it for the finale, but it doesn't replace a Pack-a-Punch III damage weapon on the eyes.
Mister Peeks → free Ray Gun
With the Rampage Inducer active, a scream every five rounds signals a bunny part at a dark dig spot — dig all three parts for a free Ray Gun and bonus points.
“Vanishing Shore”
Interact three times with the guitar-like instrument on the Radio Outpost's second floor.
Rampage Inducer
Shoot five stag skulls in the required spawn-room order (eyes glow red on a correct hit); the activation tablet then appears to speed early rounds.
Radios & ruins
Story radios and ancient tablets around the map add context — finish each voice line before triggering the next.
Finale rewards
Beating Kortifex awards the Main Quest calling card, a Wunderwaffe DG-2, five Sacrificial Hearts, and one tier increase for every perk held during the fight.
Recommended loadouts
Three strong picks for this map — the map's Wonder Weapon plus reliable box/wall options. These are pre-augment-era games, so the setup is the gun plus Pack-a-Punch and perk synergy.
Decimator Shield
Wonder Weapon (Trial of Resilience)Earned by returning three cursed items: block + charged slam (destroys Syphoncores, controls the Kortifex arena). Carry it to the finale, but it won't out-damage a Pack-a-Punch III weapon on the eyes.
High-damage primary
Eye damageA shotgun or accurate automatic at Pack-a-Punch III breaks Kortifex's eyes fastest. Keep one cheap PaP'd gun spare to feed the Trial of Sacrifice — the sacrificed weapon is gone for good.
When it isn't working
The stalls that actually cost people runs on this map, and what to do about each.
Stuck on step 3 — Trial of Mindfulness?
- Interact with the obelisk to start the formal trial, then capture the marked runes without killing any zombies (retry on a later round if it fails).
- If the red orb won't interact, the known fix is to go down and be revived, then retry — keep a self-revive or co-op plan ready.
Common The Archon questions
Direct answers to the specific things players look up mid-game — part locations, puzzle steps and more.
Is The Archon round-based?
What is the Construct?
Do the Demonic Fountains return on The Archon?
Is there a free Ray Gun on The Archon?
Where do I find a shovel on The Archon?
Which weapon should I feed the Trial of Sacrifice?
What do I get for beating Kortifex?
How many radios are on The Archon?
How does the Vanguard story end?
Visual guides & sources
Screenshots and exact part locations live in these — open one on a second screen.
Map discussion
A shared community board for The Archon — posts are public, saved on the server and visible to everyone across devices. Handy for strategies, spawn variations you've noticed, or steps to double-check. Please keep it civil and on-topic.