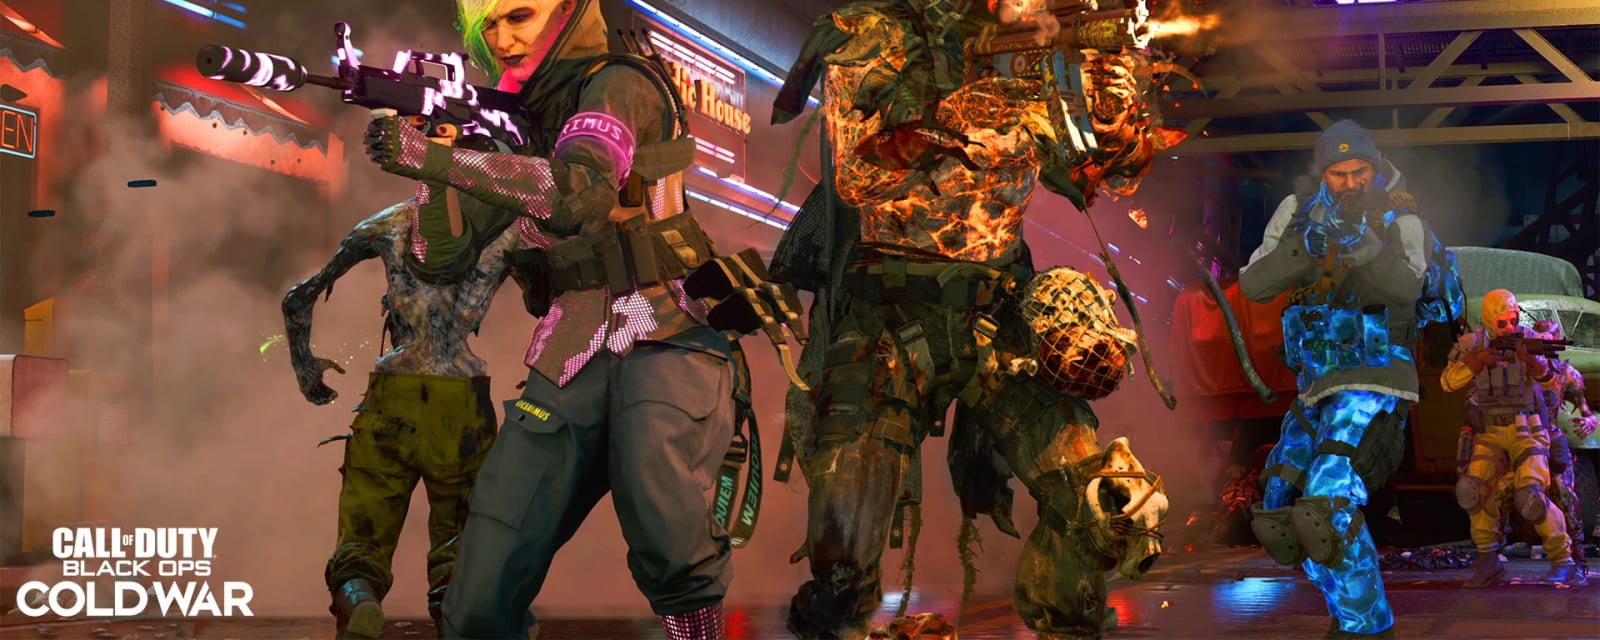
Forsaken
Forsaken is the last round-based map of Black Ops Cold War and the finale of the Dark Aether saga. Requiem storms the Sanatorium to confront The Forsaken (an Elder God wearing Omega's escaped scientists), fighting through the Anytown simulation to build the Chrysalax and an Aetherium Neutralizer. The main quest, Nowhere but Forwards, ends the storyline that began at Die Maschine.
Quick answers
How do you complete the Forsaken Easter egg?
- Final Cold War round-based map; 1-4 players and fully solo-capable.
- Main quest is 'Nowhere but Forwards' (in-game objective chain 'Pyrrhic Victory').
- Opens with accelerated rounds in the Staging Area until the teleporter is charged.
- Wonder Weapon is the Chrysalax, switching between Savager (axe) and Storm (rifle) forms.
- Pack-a-Punch upgrades the Chrysalax into the Tenebris.
- Build parts: Tempered Crystal Heart, Energetic Geode, Polymorphic Crystal Core.
- Finale device is the Aetherium Neutralizer, built from a Fuel Tank, Monitoring Device and Housing Unit.
- Neutralizer is escorted down Main Street, refuelled by breaking orange Dark Aether crystals.
What is the Wonder Weapon on Forsaken?
Who is the boss on Forsaken?
How long does the Forsaken Easter egg take?
Can you do the Forsaken Easter egg solo?
What are the main areas on Forsaken?
How many side Easter eggs are on Forsaken?
Are there solvers for the Forsaken puzzles?
When was Forsaken released?
Map & Key areas
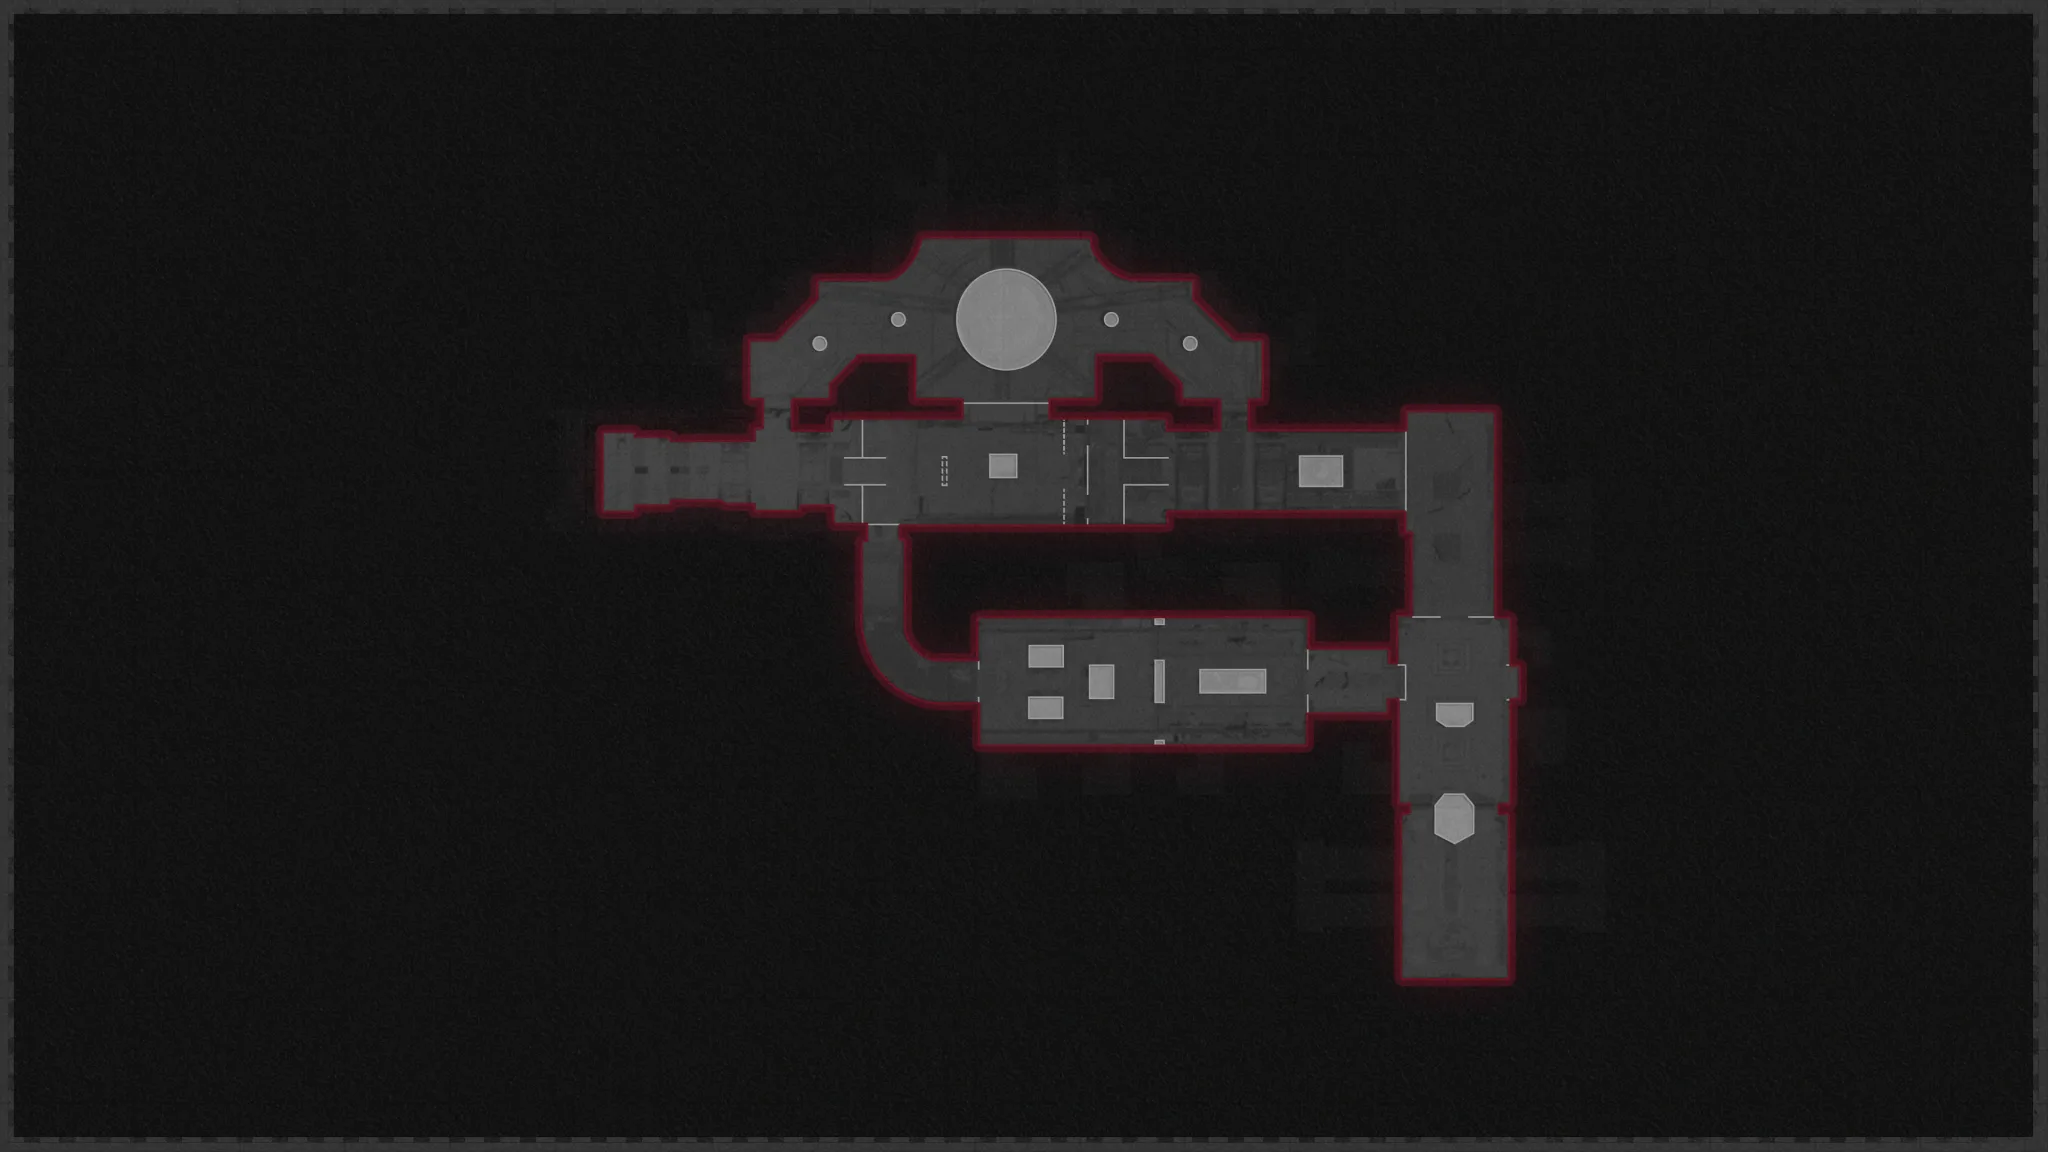
The map layout first, then the areas worth knowing by name. Map imagery © Activision, self-hosted.
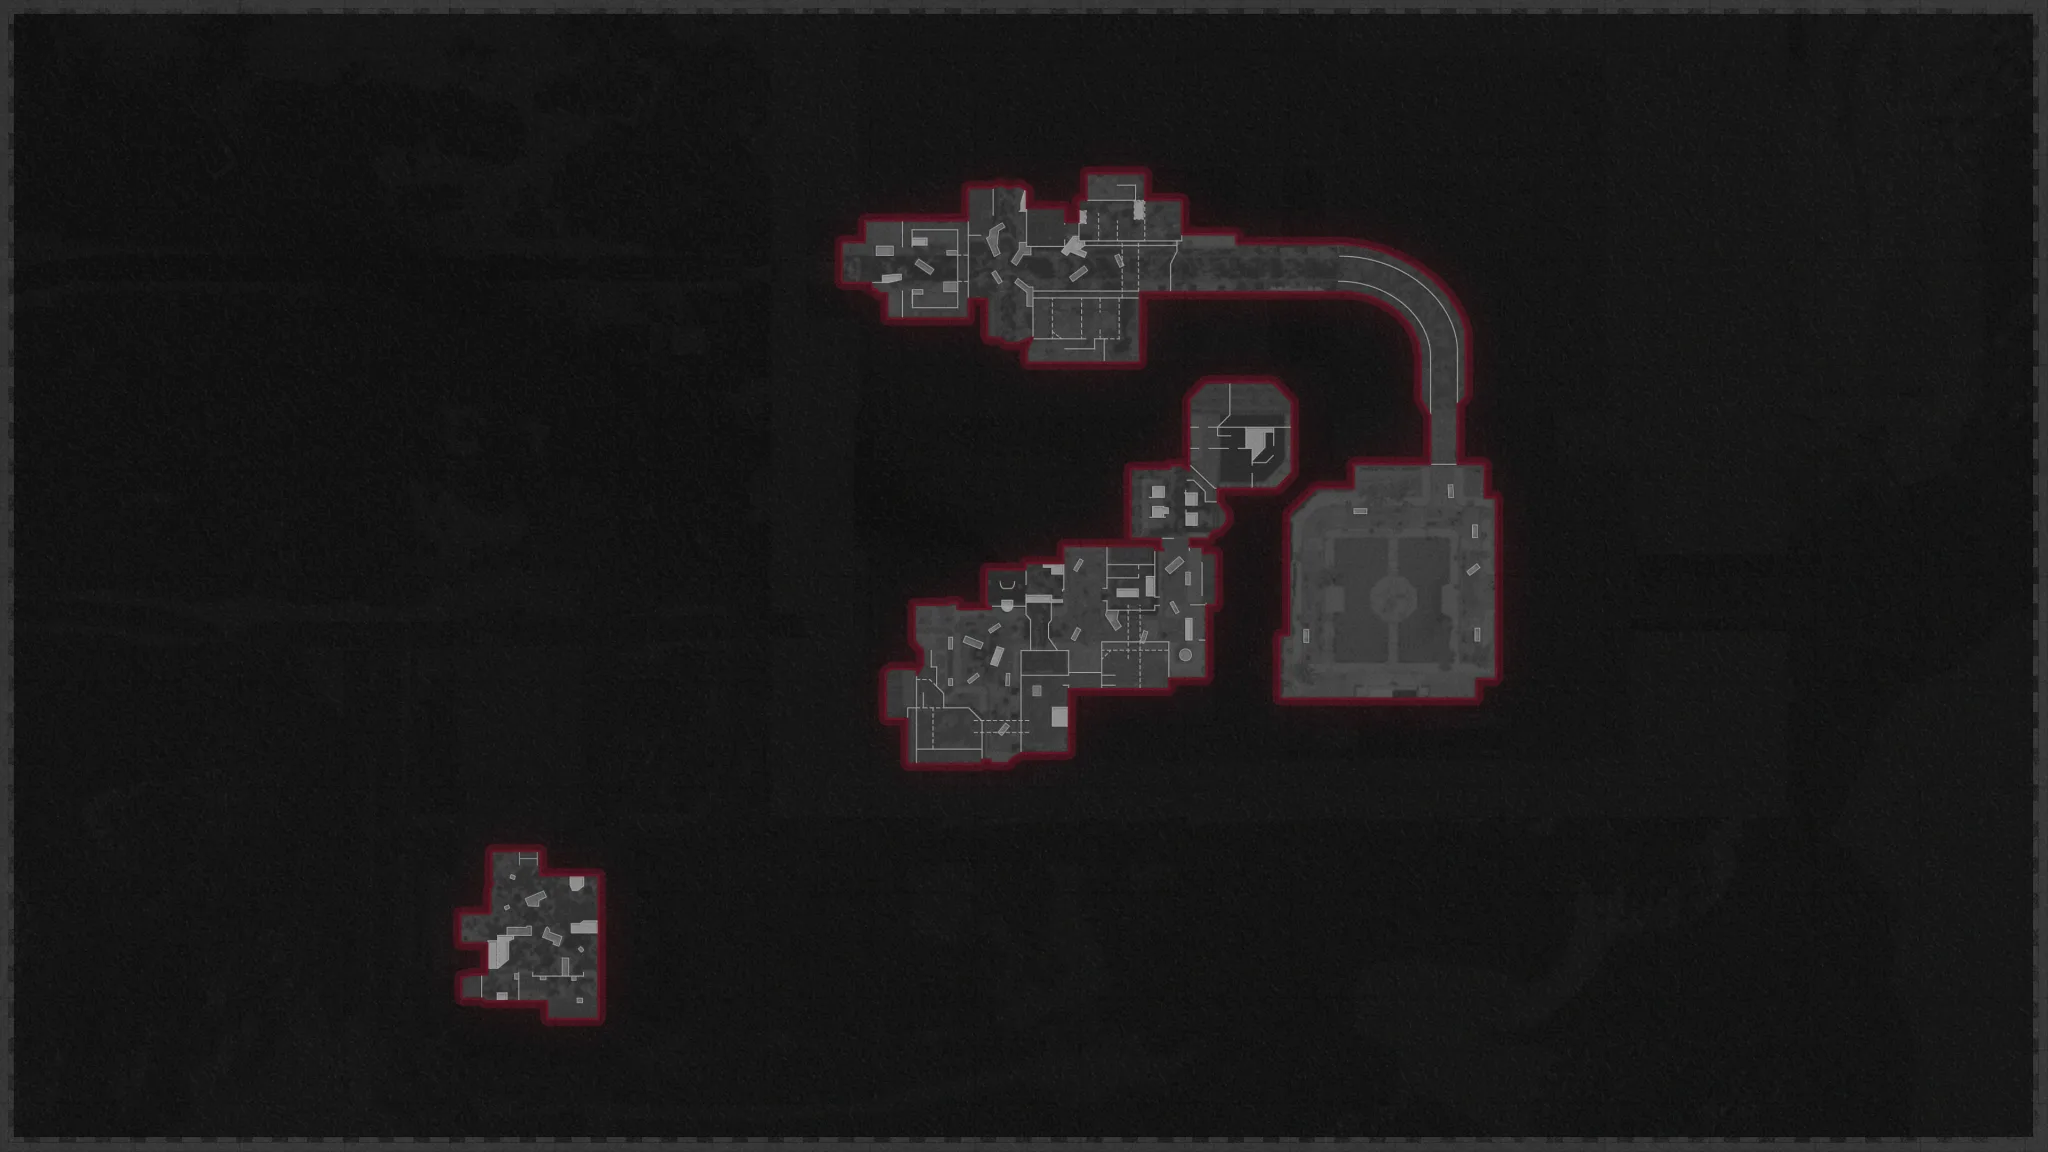
Staging Area
Accelerated opening arena; rounds tick up fast until you charge and use the teleporter. Holds one large Aetherium crystal.
Anytown / Main Street
The simulated town and central hub: the Neutralizer workbench, travel teleporters, shops, and most side quests.
Observation Tower & Bunker
Story button and the route to Pack-a-Punch. Pressing the tower button opposite the bunker teleporter unlocks the Chrysalax and quest events.
Particle Accelerator
Chrysalax assembly bay; the tub takes the three build parts and the ten melee-kill charge.
Fuel Processing
Lockdown room for the Fuel Tank objective.
Containment Zone
Escort endpoint and the arena for the Forsaken boss fight.
Steps at a glance
- Final Cold War round-based map; 1-4 players and fully solo-capable.
- Main quest is 'Nowhere but Forwards' (in-game objective chain 'Pyrrhic Victory').
- Opens with accelerated rounds in the Staging Area until the teleporter is charged.
- Wonder Weapon is the Chrysalax, switching between Savager (axe) and Storm (rifle) forms.
- Pack-a-Punch upgrades the Chrysalax into the Tenebris.
- Build parts: Tempered Crystal Heart, Energetic Geode, Polymorphic Crystal Core.
- Finale device is the Aetherium Neutralizer, built from a Fuel Tank, Monitoring Device and Housing Unit.
- Neutralizer is escorted down Main Street, refuelled by breaking orange Dark Aether crystals.
- The Forsaken has four armour points: both shoulders, lower torso, and head.
- Samantha's laser cannons break the armour; charge them by killing inside a glowing ring.
- Hidden song is 'Samantha's Ballad', triggered via the Aether Bunny and Bubby.
- Activating the Neutralizer is the point of no return — finish everything first.
Before you start
What to have in hand before step 1 — from the loadout notes, from the walkthrough itself, and from the map's own quest documentation where the gate is never stated in a step.
- Rounds accelerate rapidly at the start until the Staging Area teleporter charges from kills — keep killing continuously rather than trying to hold a spot. — step 1
- Only throw a Catalyzed Crystal Shard while an Abomination's mouth is open — its tail glows red on success — a closed-mouth throw wastes it. — step 7
- The Fuel Processing lockdown starts only when every player activates a console together, or the single interaction if solo. — step 6
- Activating the Aetherium Neutralizer is the point of no return — finish all prep (armour, perks, Pack-a-Punch, ammo, self-revive) first. — step 10
- The Perkaholic Tombstone / Simon-says puzzle for all perks needs completing before you activate the Neutralizer. — side Easter eggs
- The Fuel Processing console can be started solo (a single interaction) or by every player activating together in co-op. — step 6
Set aside 40–65 min · 1–4 (solo-capable)
Full walkthrough
The quest in the order this guide runs it — tap any step to jump to it, and it fills in as you tick steps off.
Charge the Staging Area teleporter
Kill continuously as the rounds accelerate. Once the teleporter is charged, use it to stop the rapid opening pace and drop into the simulation.
- Rounds ramp up fast — keep killing
- Teleporter charge fills from kills
- Use it as soon as it is ready
Reach Anytown and repair the Main Street teleporter
Follow the route out to the Observation Tower exterior and into Anytown. On Main Street, collect the scattered teleporter parts from the immediate storefronts and install them.
- Parts spawn around the Main Street storefronts
- Install all parts to repair the teleporter
- Opens the route toward the tower and bunker
Press the Observation Tower button
Open the route to the tower and Pack-a-Punch, then press the button opposite the bunker teleporter. This unlocks the Chrysalax build and later quest events.
- Pack-a-Punch is up in the Observation Tower
- Button sits opposite the bunker teleporter
- Enables Chrysalax components
Collect the three Chrysalax parts
Gather all three in any practical order. Burn a Tormentor with the Flamethrower and finish it while alight for the Tempered Crystal Heart; bait an Abomination lightning attack (or Tormentor explosion) into a large crystal for the Energetic Geode; and defend the crystal at Jim's Donuts to earn the Polymorphic Crystal Core.
- Tempered Crystal Heart — burnt Tormentor kill
- Energetic Geode — explosion into a large crystal
- Polymorphic Crystal Core — defend at Jim's Donuts (5 Plaguehounds, 3 Tempests, 2 Mimics)
Build the Chrysalax
Install the Heart, Geode and Core in the accelerator tub, then earn ten melee kills nearby to charge it. Collect the Chrysalax and switch between the Savager axe and Storm firearm forms as needed.
- Place all three parts in the tub
- Get 10 melee kills close to the tub
- Take the Chrysalax (Trials / Mystery Box can also grant it)
Get the Fuel Tank (Fuel Processing lockdown)
Activate the console(s) — every player at once, or the single solo interaction — to start the lockdown. Survive until the Fuel Tank can be collected.
- All players activate a console together
- Survive the lockdown
- Collect the Fuel Tank
Gather three Catalyzed Crystal Shards
At each large crystal, shoot the three orbiting orbs then melee the exposed core with the Chrysalax to drop a Crystal Shard into your tactical slot. Feed the shard into an open Abomination mouth mid-attack (its tail glows red on success), kill that target, and take the Catalyzed Shard. Repeat for all three.
- Crystal sites: Storage Zone 5 Rooftops, The Amplifier, Staging Area
- Shoot 3 orbs, then melee the core with the Chrysalax
- Throw the shard only while a mouth is open — tail glows red
- Recover all three Catalyzed Shards
Get the Monitoring Device (ARC-XD route)
Equip Dead Wire and get a kill with it beside the Grand Prix arcade cabinet to power it. Use an Arcade Token to drive the ARC-XD to the TV Store; let its pulse open the vent, drive in, wedge between the shelf and wall, and detonate to expose the Monitoring Device.
- Apply Dead Wire; get a kill by the Grand Prix cabinet
- Need an Arcade Token to launch the ARC-XD
- Drive to the TV Store; the pulse opens the vent
- Detonate at the shelf gap, then collect the Monitoring Device
Get the Housing Unit (Abomination charge)
Position an Abomination so its charge line faces the marked wall below the unit. Stand in line, dodge at the last moment, and let it smash the wall to drop the Housing Unit.
- Find the marked wall by the Board Room / Der Wunderfizz
- Line up the Abomination charge and dodge late
- Pick up the fallen Housing Unit
Craft and escort the Aetherium Neutralizer
Assemble the Aetherium Neutralizer from the Fuel Tank, Monitoring Device, Housing Unit and crystal components. Finish all prep first — armour, perks, Pack-a-Punch, ammo, self-revive — then activate it. Stay inside its protective field, and break orange Dark Aether crystals to refuel whenever it stalls, until you reach the Containment Door.
- Build at the Main Street workbench near Tombstone
- Activation is the point of no return
- Stay in the protective field during the escort
- Break orange crystals to refuel; clear enemies blocking it
- Use the final buy area at the Containment entrance
Defeat The Forsaken
The boss has four armour points — both shoulders, lower torso, and head. Kill zombies inside the glowing ring beneath Samantha to charge a laser cannon, mount it when she activates it, and hold the beam on the highlighted armour until it shatters. Break either shoulder first, then the other, then the lower torso, then the head (the Chrysalax Storm form also chips them); one charged cannon is worth about a quarter of its health. At zero health a scripted sequence downs the team and rolls the ending — this is the successful finish.
Watch its attacks: the eye beam is a sustained laser — break line of sight; tracking orbs home in — strafe to shake them; electric bolts leave a shock field — move off it; and don't stand in a slow field or next to its ground slam. Armour order & cannon reference.
- Charge cannons by killing inside the marked circle
- Order: both shoulders, lower torso, head
- Dodge the lightning slam; leave frost / blizzard zones
- Strafe the tracking orbs; break line of sight from the eye laser
- The scripted team down at zero HP is the ending, not a wipe
The Forsaken — armour order & cannons
Containment Zone boss fightIt only takes health damage once its armour is stripped. Kill zombies in Samantha's glowing ring to charge her; she lights a side laser cannon — mount it and hold the beam on the flashing armour (about a quarter of its health per charge). Break the armour in this order: either shoulder, the other shoulder, the lower torso, then the head.
Side Easter Eggs & extras
Everything beyond the main quest. Tap any entry to open the full how-and-where breakdown.
“Samantha's Ballad”
With PhD Slider Tier V, long-slide off the Bar, Video Store and Anytown rooftops into the three scorched-asphalt patches to drop the Aether Bunny. Place it in Bubby at Burger Town, survive the ~3-minute defence, then take the cassette.
Pizza Delivery
Use Aether Shroud (Tier III) to slip into Beach Pizza without killing Ronald Raygun, then deliver to the Video Store, Cinema, Bar and Burger Town for rewards — possibly a Ray Gun.
Free Arcade Token
Melee the token dispenser in Anytown to bank a token for the Grand Prix and the ARC-XD.
Grand Prix
Spend tokens on the arcade cabinet minigames; secure the area before you commit to a run.
Free rarity challenges
Weapon-class target challenges can award pistol, sniper or SMG rarity upgrades.
Perkaholic puzzle
An advanced Tombstone / spectral ‘Simon Says’ sequence can award all perks — complete it before activating the Neutralizer.
Interactive solvers
Every solver for Forsaken, in the order you meet them. Each also appears inside its step in the walkthrough above — use whichever is handier. Browse every Zombies solver →
The Forsaken — armour order & cannons
Containment Zone boss fightIt only takes health damage once its armour is stripped. Kill zombies in Samantha's glowing ring to charge her; she lights a side laser cannon — mount it and hold the beam on the flashing armour (about a quarter of its health per charge). Break the armour in this order: either shoulder, the other shoulder, the lower torso, then the head.
Recommended loadouts
Three strong picks for this map — the map's Wonder Weapon plus reliable box/wall options. These are pre-augment-era games, so the setup is the gun plus Pack-a-Punch and perk synergy.
Chrysalax Savager / Storm (Wonder Weapon)
Two weapons in one — axe that cleaves, rifle that crystallisesBuild it at the Particle Accelerator (Heart + Geode + Core, then 10 melee kills), or roll it from Trials / the box. Pack-a-Punch into the Tenebris.
Gallo SA12 (Legendary + PaP)
Wall-clearing shotgun for the escort and horde phasesBuy off-wall in Anytown, Pack-a-Punch and rarity-max it; ideal for the Neutralizer escort and cannon-charge circles.
Krig 6 (Legendary + PaP)
Accurate AR for specials and boss armourGrab from the wall or box, max rarity and PaP; use it for ranged specials and chipping the Forsaken’s weak points between cannons.
Field Upgrade reference (Cold War)
Black Ops Cold War introduced Field Upgrades — the tactical ability you charge with kills. Cold War upgraded them through Aetherium Crystal skill tiers (I–V), not the Major/Minor augment system that arrived in Black Ops 6.

Energy Mine
A proximity energy explosion.

Frost Blast
A frost AoE that slows enemies.
Healing Aura
Instant heal beams (also revives teammates in BO6/BO7).

Ring of Fire
A damage-boost ring that also burns enemies (15s).

Aether Shroud
Phase out of enemy detection.

Tesla Storm
Lightning links players, stunning and damaging enemies.

Frenzied Guard
Repair armour and taunt enemies; kills repair your armour.

Toxic Growth
Thorn vines that slow and damage.
Dark Ops & mastery cards (Cold War)
Black Ops Cold War introduced the Zombies ‘Dark Ops’ card system — hidden challenges earnable on any map (plus Dead Ops Arcade). Filter by category.

Another Round?
Dark OpsReach Round 100.
Reaper of the Undead
Dark OpsKill 1,000,000 zombies.

Invincible
Dark OpsReach Round 30 without going down.

Social Distancing
Dark OpsReach Round 20 without taking a hit.
Good Enough
Dark OpsReach Round 20 with your starting loadout.
Armed to the Teeth
Dark OpsHold 2 fully-upgraded weapons with ammo mods and 6 active perks.
Box Addict
Dark OpsBuy every Mystery Box weapon in one game.
Harbinger of Doom
Dark OpsKill 50 enemies with a single Support.

The Anvil
Dark OpsExfil a game using only melee attacks.
Evil Unleashed
Dark OpsComplete any main Easter-egg quest.

King of Silverbacks
Dead Ops ArcadeReach a cumulative Dead Ops Arcade score of 999,999,999.

Pristine Pelt
Dead Ops ArcadeBeat Mamaback (the DOA final round) without dying.

Dark Ops Master
MasteryComplete the Dark Ops set.
Intel
36 pieces — Requiem 15, Omega 13, Maxis 4, Dark Aether 4 — as 11 Audio Logs, 16 Documents and 9 Artifacts. Forsaken has no radio transmissions. Only the audio logs are found in the map (three appear only after a quest step); documents drop from elite enemies and artifacts come from the main quest and the free Chrysalax build. Story/lore only, no gameplay reward.
Audio Logs 11
The Zakarpatska Oblast (Requiem)
Staging Area / spawn — on the white crate against the truck.
Description: Ravenov reveals to Weaver the location of Operatsiya Izbavitel.
For Health (Requiem)
Anytown — on the bar counter, across from Burger Town.
Description: Weaver and Carver share a late-night drink and discuss the future.
Russian to Russian (Requiem)
Bunker — on the floor by the desks in the office past the boardroom, near the Amplifier.
Description: Weaver formally introduces himself to Zykov — and makes a deal.
Symbiotic Relationship (Requiem)
Storage Zone rooftops — on the crates; only spawns after you destroy the purple crystals up there with the Chrysalax.
Description: Strauss records his findings on three particularly unique crystals — and their special ability to forge an ancient aethereal weapon.
Deja Vu (Omega)
Checkpoint — by the security cabin, just after teleporting from the Staging Area.
Description: As Kravchenko and Peck run their eighth attempt to extract Zykov, a catastrophic miscalculation is made.
The Magnificent Two (Omega)
Fuel Processing — on the ground left of the broken teleporter, under the red overhang.
Description: Gorev and Jager form a tentative accord should Operation Izbavitel fail.
Fully Operational (Omega)
Bunker — on the raised platform overlooking the teleporter to the Observation Tower.
Description: Kravchenko pays an unexpected visit at Test Site Anna — and informs Peck of an alarming schedule update.
The Agreement (Omega)
TV / Video Store counter; only spawns after you get the Monitoring Device (destroy the ARC-XD car — a main-quest step).
Description: Peck makes another phone call.
My Control (Maxis)
Video Store — on the horror-section shelf by a mannequin.
Description: Grey visits Maxis at Requiem's Block 8 facility.
My Orders (Maxis)
Beach Pizza — on the beam above the counter (above Stamin-Up); shoot it down.
Description: Weaver calls Maxis before Operation First Domino.
My Choice (Maxis)
Bunker Particle Accelerator — by the tub of Aether; only spawns after building the free Chrysalax.
Description: Maxis records her final personal log.
Documents 16
16 documents — elite drops 16
Random drops from elite/mini-boss enemies (Tempests, Manglers, Mimics, Disciples, Krasny Soldat and the Abomination), with some also from the Observation Tower Trial computer. RNG, roughly one or two a game (Requiem ~6, Omega 9, Maxis 1).
Requiem · Ancient Parchment
A Dark Aether drawing of a deadly aethereal weapon by the Zealot Sparagmos.
Requiem · Collapse Report
A document discussing the environmental collapse and terraforming of several Outbreak Zones around the globe, including the Ural Mountains.
Requiem · Ancient Parchment 2
Documentation of the crystals required to forge the Chrysalax by the Zealot Sparagmos.
Requiem · Requiem Neutralizer Blueprint
The design for field construction of an Aetherium Neutralizer, if an operator is compromised by the Phase.
Requiem · Memorandum for the Board
A memorandum from Requiem's Director discussing the events of Berlin and his involvement.
Requiem · Progress Report
A progress report for the Director regarding the progress of another operation.
Omega Group · Operatsiya Izbavitel Approval
A letter from Chebrikov, giving Omega Group authorisation to proceed with Operatsiya Izbavitel.
Omega Group · Order of Operations
A memorandum from Kravchenko to Omega department leads, reviewing the order of operations on the day Operatsiya Inversiya is to be executed.
Omega Group · Test Site Construction Blueprint
The design specs for the particle accelerator and the Amplifier tunnel at Test Site Anna.
Omega Group · Containment Chamber Blueprint
The design specs for the Containment Chamber for Operatsiya Inversiya.
Omega Group · Location Targets
Kravchenko discusses his thoughts on potential targets once Operatsiya Inversiya is complete.
Omega Group · Aetherium Gun Turret Blueprint
The design specs for the Aetherium Energy Gun Turret, to be used as part of Operatsiya Inversiya.
Omega Group · Forsaken Photograph
A photograph of the Forsaken, taken in the Dark Aether by one of Omega's Aethernauts.
Omega Group · ARC-XD Blueprint
The design specs for the ARC-XD, a remote-controlled vehicle carrying an Aetherium payload, capable of distracting undead enemies.
Omega Group · Anton Note
A note written by Omega Officer Anton, discussing recent happenings at Test Site Anna.
Maxis · Maxis Approval Memo
A report from the Director authorising Maxis for Operation First Domino.
Artifacts 9
9 artifacts — main quest & Chrysalax 9
Requiem's five come from main-quest steps (the Chrysalax itself, the Monitoring Device, the Fuel Tank, the Housing Unit and the built Aetherium Neutralizer); the four Dark Aether crystals come from building the free Chrysalax Wonder Weapon.
Requiem · The Chrysalax
Forged in the pools of the Dark Aether, the Chrysalax combines three crystals, creating an aethereal weapon that can transform at will between two forms.
Requiem · Housing Unit
A sufficient housing unit for constructing an Aetherium Neutralizer in the field.
Requiem · Monitoring Device
An adequate monitor for an Aetherium Neutralizer assembled from spare parts, capable of broadcasting status updates to the user.
Requiem · Fuel Tank
A makeshift fuel tank for an Aetherium Neutralizer, saucer-shaped to stabilise the volatile catalysed Aetherium.
Requiem · Aetherium Neutralizer
It may not be professionally constructed, but this field-assembled Aetherium Neutralizer will still provide all the necessary protection from areas with high levels of irradiated Aetherium.
Dark Aether · Polymorphic Crystal Core
Created by the hands of Sparagmos, the polymorphic crystal core can shift its form — the source of the Chrysalax's transformative powers.
Dark Aether · Energetic Geode
Highly volatile, the Energetic Geode is created from a Dark Aether Crystal impacted by an Aetherium energy blast.
Dark Aether · Tempered Crystal Heart
The fiery crystal heart of a Tormentor.
Dark Aether · Catalyzed Crystal Shard
When assembling an Aetherium Neutralizer in the field, catalysed Aetherium crystals create an acceptable replacement for the Aetherium Orb, if one is not available.
When it isn't working
The stalls that actually cost people runs on this map, and what to do about each.
The Catalyzed Shard throw does nothing
The Forsaken boss won't take damage
Getting deleted by the boss out of nowhere
The Neutralizer escort keeps stalling
Common Forsaken questions
Direct answers to the specific things players look up mid-game — part locations, puzzle steps and more.
Why are the rounds going up so fast?
How do I get the Chrysalax?
How do I get the song on Forsaken?
What is the Pizza Delivery run?
How do I get all the perks?
What are the arcade tokens for?
How do I get free weapon rarity?
Where is the Neutralizer workbench?
Visual guides & sources
Screenshots and exact part locations live in these — open one on a second screen.
Map discussion
A shared community board for Forsaken — posts are public, saved on the server and visible to everyone across devices. Handy for strategies, spawn variations you've noticed, or steps to double-check. Please keep it civil and on-topic.