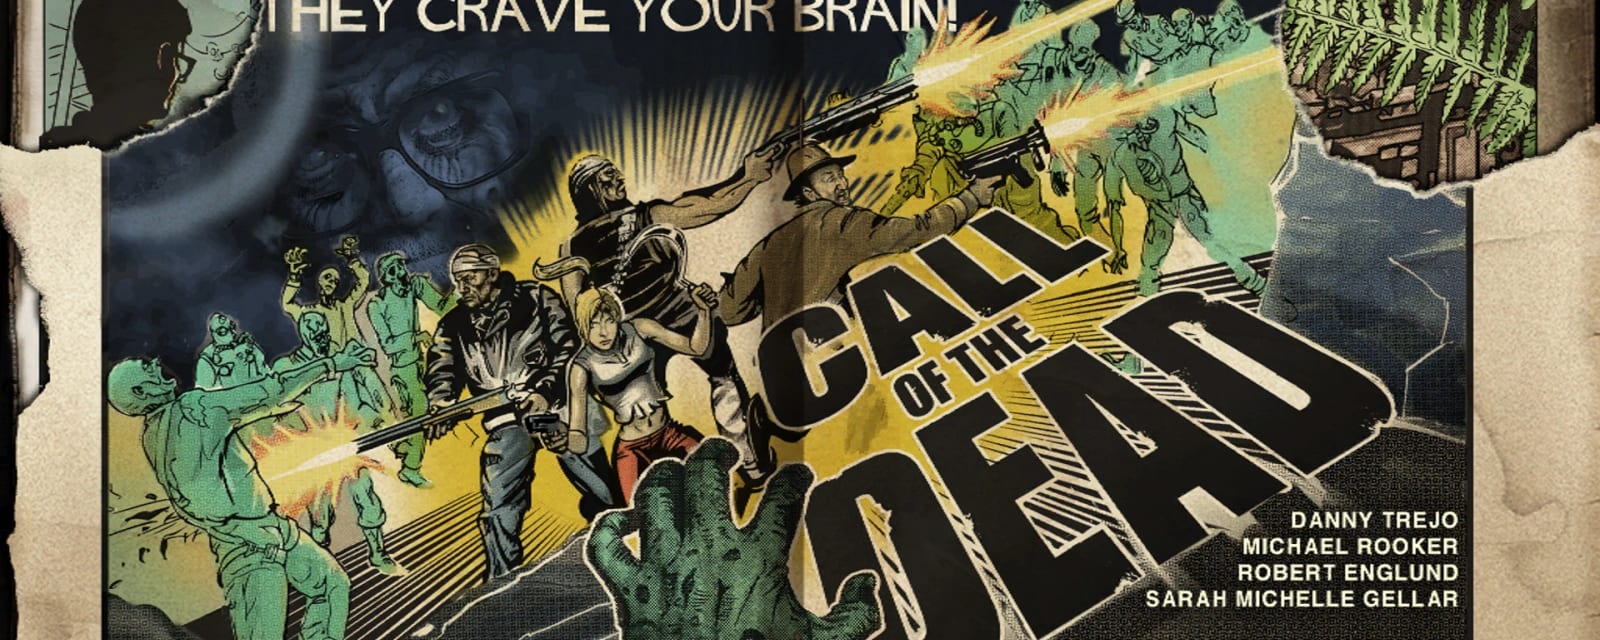
Call of the Dead
A Siberian coast with a celebrity cast and George Romero on your tail. Free Richtofen's trapped crew to obtain the Golden Rod — needed later for Moon.
Quick answers
Call of the Dead is a Black Ops Zombies map on a Siberian coast, with a celebrity cast — Sarah Michelle Gellar, Robert Englund, Danny Trejo and Michael Rooker — and George A. Romero stalking the team the whole match. The quest frees Richtofen's trapped Ultimis crew and rewards the Golden Rod, which is needed later on Moon. Solo plays Stand-in; co-op plays the longer Ensemble Cast. Rated Medium, 30–55 minutes.
How do you complete the Call of the Dead Easter egg?
- Power on in the ship
- Knife the bunker door → insert the Fuse
- (Co-op) Destroy the 4 generators
- (Co-op) Get Nikolai's Vodka
- V-R11: turn a zombie human, kill it up the lighthouse → Golden Rod
- Insert the Golden Rod & knife the fuse to finish
How long does the Call of the Dead Easter egg take?
Can you do the Call of the Dead Easter egg solo?
Is there a song Easter egg on Call of the Dead?
What are the main areas on Call of the Dead?
How many side Easter eggs are on Call of the Dead?
When was Call of the Dead released?
Key areas
Spawn / Bow wreckage
Coastal start by the wrecked bow; fuse and boat toward the lighthouse; zipline anchor; musical rock #1 on a barrel.
The Ship (stern freighter)
Main shipwreck: the Power Room at the top, the steering wheel, and the Flinger that throws players to the lighthouse base.
Lighthouse
Four-level tower: Mystery Box floors, dial mechanism for the Ensemble Cast EE, zipline to the ship; PaP beam points to the machine's current location.
Ice Slide
Slide from the upper path down toward Speed Cola and the Sickle purchase.
Frozen water / George's pool
The shallows where George A. Romero retreats when calmed; water frosts the screen and freezes players and zombies.
Upper cliff / Stamin-Up path
High path with Stamin-Up and a generator used in the EE; connects lighthouse top to the ship zipline.
Trapped-crew door (below deck)
The locked room holding Ultimis — centre of the Stand-in/Ensemble Cast quest; items are delivered here.
Roaming Pack-a-Punch corners
PaP cycles between set spots (ship deck, lighthouse base area); lightning strikes when it moves.
Steps at a glance
- Power on in the ship
- Knife the bunker door → insert the Fuse
- (Co-op) Destroy the 4 generators
- (Co-op) Get Nikolai's Vodka
- V-R11: turn a zombie human, kill it up the lighthouse → Golden Rod
- Insert the Golden Rod & knife the fuse to finish
Before you start
What to have in hand before step 1 — from the loadout notes, from the walkthrough itself, and from the map's own quest documentation where the gate is never stated in a step.
- Both versions need the power on and the Ultimis door knifed before anything starts.
- Ensemble Cast, the co-op version, cannot be completed alone. Playing solo runs Stand-in instead, which is a different sequence rather than a shortened one.
Set aside 30–55 min · 1–4 (solo-capable)
Where your run will differ
Gathered here so you meet them before they cost you a run rather than after — quoted word for word from the guide below, or researched from the map's own quest documentation.
What changes with your player count. The rest of the guide is the same either way.
- “In solo this (with the shared opening) brings up the green lighthouse beam…” step 3
- Solo runs Stand-in and puts the Golden Rod into the ear tube; co-op runs Ensemble Cast and uses the vodka instead. Both finish with the Wunderwaffe DG-2 power-up.
Full walkthrough
The quest in the order this guide runs it — tap any step to jump to it, and it fills in as you tick steps off.
Setup — power, V-R11 & the moving Pack-a-Punch
Open up through the first ship to its upper control room and throw the power switch (the steering wheel and three-lever console there are used later). Get the V-R11 from the Mystery Box — it does not need Pack-a-Punching for the quest — and carry a dependable explosive (Frag/Semtex, China Lake, Scavenger, Crossbow…) for the generators and the beam. Pack-a-Punch is mobile: after power the lighthouse projects a beam to the current machine, which appears near spawn (right of Quick Revive), by the second ship / Jugger-Nog, or behind the lighthouse — follow the beam and don't leave a gun inside as it moves.
Don't shoot George Romero needlessly — he follows the nearest player and enrages when shot; lead him into deep water to cool him. Keep one slow zombie away from the lighthouse for every control/radio/dial step.
Shared opening — door, fuse & four generators
Below the PhD Flopper room, knife the sealed Ultimis metal door to trigger Richtofen's dialogue. Then grab the Fuse from the PhD room — one of three spots: the table on the left, the table immediately left of the PhD machine, or the floor by the locker — and insert it into the fuse box on the right of the door; knife the door again. Next destroy the four red generators with explosives:
- Directly across from the Ultimis door, outside the wall.
- Outside the left window of the Stamin-Up cabin.
- In the water at the rear of the ship (use an elevated deck angle).
- In the gap between the two broken ship sections where the decks connect.
With all four dark, knife the door again to advance. If Richtofen doesn't move on, one generator didn't register — re-hit any still glowing red.
The Ray Gun and Matryoshka Dolls may not count as explosive damage on these generators (they do work later for the V-R11 rod step), so use Frag/Semtex, the China Lake, the Crossbow or the Scavenger here to avoid a silent non-register.
Set the ship controls
At the three-lever console in the power room: pull the left lever once, leave the middle untouched, and pull the right lever three times. Then use the steering wheel — turn it right twice so the brown handle points to roughly 5 o'clock. In solo this (with the shared opening) brings up the green lighthouse beam; in co-op it surfaces the submarine for the foghorns.
Co-op — frozen Vodka & four Morse radios
Solo skips this step. Find the single bottle of frozen vodka on one of four railings/ledges — the PhD staircase railing, the upper railing above it, the ship railing by the M16 wall-buy, or the ledge linking the ship halves by the MP40 — then one player knifes it from above while another catches it below before it smashes (a miss respawns it elsewhere). Insert it into the transfer tube left of the door. Then activate the four Morse radios in this exact order: (1) below the power room on a cabinet, (2) on a barrel inside the Stamin-Up cabin, (3) inside a shipping container on the back ship section, (4) under the staircase in the room behind the Ultimis-door wall. When the order is right you hear Morse code and a glowing yellow ellipse appears near the perk machine — that's your confirmation, so don't redo the sequence. A wrong order restarts from radio 1.
Co-op — four foghorns & the lighthouse dials
Solo skips this step. While the map fog is present and the submarine is surfaced, sound the four foghorns in order: (1) the lighthouse base by the water, (2) just right after the icy slide, in/near the water, (3) the land horn outside the lighthouse doors (closest), (4) the farther land horn behind the rock ahead of the icy slide. On success the submarine shines a green light at the lighthouse. If the horns were sounded in the wrong order (or the submarine wasn't surfaced), the attempt doesn't break permanently — it simply resets at the next round, so wait a round and redo the sequence. Then set the lighthouse security dials to the code 2-7-4-6 (Yellow top, Orange, Blue, Purple bottom).
The dials are linked — setting each number independently won't work: turn Purple to 6; turn Orange until Blue shows 4; turn Yellow until Orange shows 7; keep turning Yellow to 2 (count the turns) and turn Purple that many times; finally turn Blue to 4 → read top-to-bottom 2-7-4-6.
V-R11 beam → the Golden Rod
With the green beam active, bring a zombie or crawler to the lower lighthouse and shoot it once with the V-R11 — it turns human and floats up the green shaft. Hit the rising human hard (Scavenger, Ray Gun splash, Matryoshka Dolls or another strong explosive) before he reaches the top — damage him until he slumps and hangs limp like a downed player, which is the cue the rod will drop. If he reaches the top still upright, no rod drops and you retry with a fresh zombie. The Golden Rod then appears at the bottom of the lighthouse — grab it.
Finish — the fuse & Wunderwaffe DG-2
Insert the Golden Rod into the transfer tube to the left of the Ultimis door and wait through the full dialogue (don't knife early). When the fuse box on the right starts sparking, knife it once, wait for the final lines, and collect the Wunderwaffe DG-2 power-up in front of the door.
Side Easter Eggs & extras
Everything beyond the main quest. Tap any entry to open the full how-and-where breakdown.
“Not Ready to Die”
Avenged Sevenfold. Hold interact on the 3 meteor fragments (any order): at spawn on/by the barrel beside the water and boat · the first-ship dining-room area on a bench · the PhD Flopper room on the table. Once per match.
- Hold Use on 3 Element 115 meteorites, in any order
- Spawn area — on the metal barrels in the bushes by the water where George surfaces (leftmost barrel)
- Ship — in the Cafeteria / dining area, on a bench near a door
- Under the Lighthouse — in the PhD Flopper room, beneath the small clock nightstand across from PhD
- 'Not Ready to Die' by Avenged Sevenfold plays
Kill George Romero
George follows players and enrages when shot — lead him into deep water to cool him, not fire. Killing him needs very high total damage; he drops a random perk (and, once the quest is done, a temporary Wunderwaffe DG-2), and earns the Quiet on the Set achievement.
- Romero walks toward one targeted player and has a huge health pool (~250,000 per player); three hits down you even with Juggernog
- Lead him into water to calm his rage — but he takes MORE damage out of the water, so pull him onto dry land to burn him down
- Damage him with the best tools: a PaP'd Dragunov (D115) headshots, the PaP'd Scavenger, or ~48s of a Death Machine
- On death he drops a free random perk and a Death Machine — or the Wunderwaffe DG-2 instead if you've completed the main Easter egg
- He returns about every 2 rounds, so you can farm the reward
- To just remove him without a reward, shoot him with a PaP'd V-R11 while he's in the water — he vanishes for ~2 rounds
Map achievements
Beyond Stand-in / Ensemble Cast: Stuntman — Pack-a-Punch the V-R11 and shoot a zombie twice so the upgraded blast makes it explode; Shooting on Location — kill ten zombies with a single Scavenger shot from over 100 feet.
Map-exclusive box weapons
The V-R11 (turns a zombie into a fleeing human — the quest tool) and the Scavenger (explosive bolt-action sniper) are exclusive to this map.
Recommended loadouts
Three strong picks for this map — the map's Wonder Weapon plus reliable box/wall options. These are pre-augment-era games, so the setup is the gun plus Pack-a-Punch and perk synergy.
Scavenger
Sniper wonder weaponBox, map-exclusive. Explosive sniper rounds one-shot deep into high rounds — the best gun on Call of the Dead.
Wunderwaffe DG-2
Chain lightningEarned from the George Romero side quest (and the main EE). Chains through whole trains.
V-R11
UtilityBox. Turns a zombie human (useful to shed George's aggro and for the EE); situational but map-defining.
When it isn't working
The stalls that actually cost people runs on this map, and what to do about each.
Stuck on step 2 — Shared opening — door, fuse & four generators?
Stuck on step 5 — Co-op — four foghorns & the lighthouse dials?
The trapped crew won't progress after the fuse
Playing solo, the vodka step never appears
V-R11 human runs to water instead of the lighthouse
George ruins every attempt
Common Call of the Dead questions
Direct answers to the specific things players look up mid-game — part locations, puzzle steps and more.
Where is Pack-a-Punch on Call of the Dead?
What do the Scavenger and the V-R11 do?
What is the difference between Stand-in and Ensemble Cast?
Why does my screen frost over?
How do I handle George Romero?
Where is the Sickle on Call of the Dead?
Which perks are on Call of the Dead?
Who are the playable characters?
Visual guides & sources
Screenshots and exact part locations live in these — open one on a second screen.
Map discussion
A shared community board for Call of the Dead — posts are public, saved on the server and visible to everyone across devices. Handy for strategies, spawn variations you've noticed, or steps to double-check. Please keep it civil and on-topic.