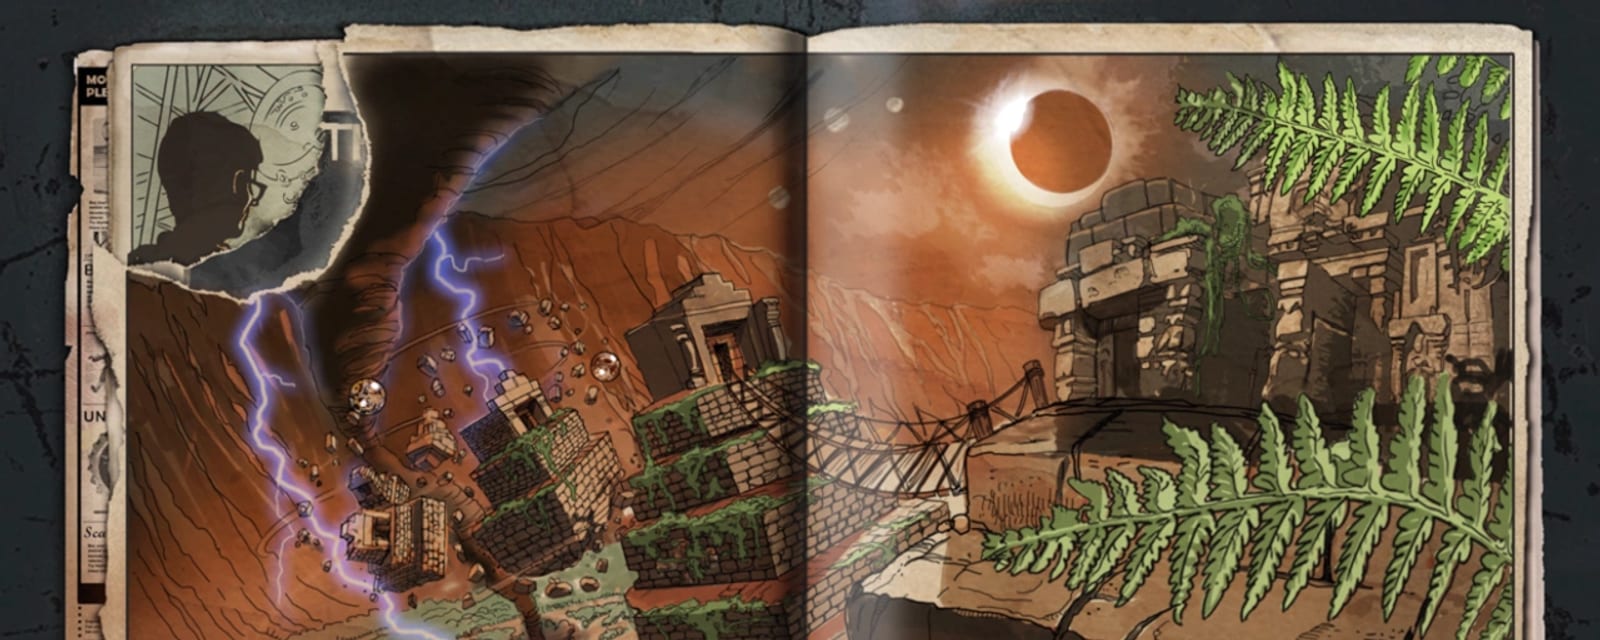
Shangri-La
A lost jungle temple. Free two explorers, Brock & Gary, stuck in a time loop. The whole quest runs on Eclipse Mode. Rewards the Focusing Stone — needed for Moon.
Quick answers
Shangri-La is a Black Ops Zombies map set in a lost jungle temple where two explorers, Brock and Gary, are stuck in a time loop. The quest, Time Travel Will Tell, runs almost entirely inside Eclipse Mode and rewards the Focusing Stone — a component Richtofen needs on Moon, and every perk permanently for whoever picks it up. Rated Hard, 45–75 minutes, and it is co-op only — the original Black Ops version needs four players.
How do you complete the Shangri-La Easter egg?
- Power on (two switches, underground)
- Enter Eclipse Mode (4 buttons by Quick Revive)
- Match the stone tiles
- Waterslide pressure plate
- Shrink the crystal ball with the baby gun
- Ignite gas leaks with a Napalm zombie
- Plug the tunnel holes with mines
- Melee 12 symbols + blow the tent
How long does the Shangri-La Easter egg take?
Can you do the Shangri-La Easter egg solo?
Is there a song Easter egg on Shangri-La?
What are the main areas on Shangri-La?
How many side Easter eggs are on Shangri-La?
When was Shangri-La released?
Key areas
Spawn / Temple steps
Start in front of the temple: Quick Revive, M14/Olympia; the four Eclipse-switch dials for the quest; two debris routes out.
Waterfall / Water Slide
Waterfall side route with the Water Slide down; Mule Kick always at the bottom of the waterfall.
Mud-Pit Maze
Pressure-plate maze — 'walls will come down deciding where the player will go'; Juggernog/Speed Cola can spawn beside it.
Mine tunnels / Mine Cart
Underground tunnels with the Mine Cart ride and box spawns; cave route to power.
Power Room (water levers)
Two water levers drive the water-powered generators to turn on power.
Underground perk caves
Rotating underground perk spawns: Stamin-Up, PhD Flopper/Widow's Wine, Deadshot, Double Tap 'randomly spawn underground'; geyser room by Mule Kick.
Geysers
Two geysers that launch players between levels via pressure plates.
Pack-a-Punch temple (top)
PaP behind the spike traps at the top of the main stairs; Zombie Monkeys lurk here and steal power-ups.
Steps at a glance
- Power on (two switches, underground)
- Enter Eclipse Mode (4 buttons by Quick Revive)
- Match the stone tiles
- Waterslide pressure plate
- Shrink the crystal ball with the baby gun
- Ignite gas leaks with a Napalm zombie
- Plug the tunnel holes with mines
- Melee 12 symbols + blow the tent
- Solve the mud-room dials
- PaP the shrink ray + get the dynamite
- Finale — shrink the meteor & free the Focusing Stone
Before you start
What to have in hand before step 1 — from the loadout notes, from the walkthrough itself, and from the map's own quest documentation where the gate is never stated in a step.
- Time Travel Will Tell needs four players in the original Black Ops.
- Have all of this ready before the late stages: a Napalm Zombie kept alive, Spikemores (Trip Mines in Black Ops 3), an explosive weapon, and a Pack-a-Punched 31-79 JGb215.
Set aside 45–75 min · 4 in BO1 · 2–4 in BO3 (co-op required)
Where your run will differ
Gathered here so you meet them before they cost you a run rather than after — quoted word for word from the guide below, or researched from the map's own quest documentation.
This map exists in more than one release, and these are the points where they differ. Everything else in this guide applies to both.
- Spikemores in Black Ops become Trip Mines in Black Ops 3 for the hole-plugging step.
What changes with your player count. The rest of the guide is the same either way.
- Four players is a hard gate at the very first stage — the four eclipse dials have to be pressed together.
Full walkthrough
The quest in the order this guide runs it — tap any step to jump to it, and it fills in as you tick steps off.
Power, Pack-a-Punch & gear
Pull both power switches in the underground power room (opposite sides of the central machinery — one player each). Pack-a-Punch is plate-gated: all four players stand on the four glowing pressure plates — spawn/temple by Quick Revive · the minecart-side path · the power room between the switches · the mud/bridge side — to raise the temple stairs, then climb and upgrade before they retract. Gear up: the 31-79 JGb215 (Baby Gun) from the box, its Pack-a-Punched Fractalizer (for the gongs and finale), Spikemores (tunnel wall-buy) and a reliable explosive.
Stage 1 — eclipse, wake Brock & Gary, 12 tile pairs
At spawn, all four players hold the four small circular eclipse buttons around Quick Revive at once to shift into the past. In the eclipse, press the button by the blocked explorers in the minecart/MPL room to wake Brock and Gary — 24 floor tiles rise, 12 on the minecart side and 12 on the mud/bridge side. Split into two pairs; one reveals a symbol, the other finds its match in the opposite field, then both stand on the matching pair at the same time. Sink all 12 pairs to spawn a crystal above the minecart.
A wrong simultaneous pair resets progress; symbols are random, so compare the two in-game shapes directly rather than any redrawn alphabet.
Stage 2 — the water-slide switch
New eclipse: send three players down the water slide to stand together on the metal grate at the bottom. The fourth rides last, holding interact the whole way down to hit the hidden switch on the chute's side wall. Done together, dialogue plays and the eclipse ends.
Stage 3 — the crystal relay
New eclipse: at the top of the slide, knock the mounted crystal sphere down with an explosive (don't waste Fractalizer ammo on it), shoot the fallen crystal once with the regular Baby Gun to shrink it, then melee it into the slide. It rolls to the lower pool — stand on the geyser as it arrives to launch it onto its spawn pedestal. A second crystal appears above the mud room.
Stage 4 — four gas leaks & the Napalm Zombie
New eclipse: in the MPL-side underground tunnel, turn the red gas valve four times to open four leaks, then lead a calm Napalm Zombie past each to ignite it (keep your distance so it doesn't detonate): leak 1 right by the valve · leak 2 on the geyser route back toward spawn · leak 3 just left of the M16 wall-buy · leak 4 above the stairs to the right of the M16. With all four burning, pull the lever by the valve to end the stage.
Two failure cases: if the Napalm Zombie explodes you'll wait a couple of rounds for another to spawn (a real time cost — herd it carefully), and the whole gas step must be finished within a single eclipse — if the eclipse ends first, retrigger it and redo all four leaks.
Stage 5 — Spikemore holes & the forbidden brick
New eclipse: in the tunnel between the wooden bridge and the waterfall, find the four wall holes (three lit blue, one dark) and lure zombies through a Spikemore aimed at the wall until a spike lodges in each. Then at the bottom of the waterfall, hold interact on the protruding brick on the side of the central boulder — ignore the prompt telling you not to.
Stage 6 — twelve wall panels & the snare
New eclipse: knife each of the twelve wall panels once (each changes appearance when it registers), then destroy the suspended minecart snare trap (outside the boundary by the minecart) with an explosive. The twelve: left of the PaP staircase · the spawn wall facing the mud passage · the spawn→mud passage wall · the spawn→minecart passage wall · the spawn wall facing the minecart room · the minecart-room wall facing spawn · beside the gong at the minecart entrance · left of the left-hand power switch · the stakeout room (power-room side) · the stakeout room (waterfall side) · the mud-room right wall toward the bridge · the mud-room right wall toward the water slide.
Stage 7 — the mud-room wheel code
New eclipse: a radio by the base of the PaP stairs / minecart crate gives the clue (usually read as 16-1-3-4). Facing into the mud room from the spawn entrance, set the four corner wheels: near-left = 4 dots · near-right = 1 dot · far-left = 3 dots · far-right = the C/open-bracket glyph with a vertical stroke and short dash (match the in-game paint, not a redrawn chart). Correct settings end the eclipse.
This stage is effectively timed by the eclipse — if it ends while you're still setting the wheels, retrigger the eclipse and re-enter the code.
Stage 8 — four gongs & catch the dynamite
New eclipse (Fractalizer ready): there are eight gongs, four of them correct for your match. Knife them one at a time — a correct gong resonates and leaves the crystal yellow, a wrong one turns it red. The eight — minecart side: left of the MPL wall-buy · in front of the tunnel entrance · left of the minecart entrance · left of the passage back to spawn; mud side: left entering the mud room · right leaving toward the bridge · beside the window by the bridge · just right after crossing the bridge. Each gong also draws a character voice line — a positive reaction on a correct gong, a negative one on a wrong gong — as a second per-gong cue alongside the crystal colour. When all four correct gongs are struck the crystals glow yellow with a rotating Treyarch symbol, the full-success confirmation. Then a player fires the Fractalizer at a focusing crystal to knock a bundle of dynamite toward the spawn crystal — a waiting player under it catches it before it lands. Drop the catch and you just need a fresh eclipse to try the throw again.
Final — shrink the meteor, free the Focusing Stone
New eclipse with the dynamite holder alive: shoot the focusing crystal above the mud-room temple with the Fractalizer — the beam chains through the crystal network and shrinks the giant Element 115 meteor into the temple. Raise the PaP stairs (four plates) and climb: Pack-a-Punch is now a brick wall with an opening (the intended finale state) — the dynamite holder feeds the charge to Brock. After the blast, return to the present, raise the stairs again and take the floating Focusing Stone from the altar.
Side Easter Eggs & extras
Everything beyond the main quest. Tap any entry to open the full how-and-where breakdown.
“Pareidolia”
Hold interact on the 3 meteor fragments (any order): spawn, behind/left of Quick Revive by the wall and vegetation · just after the mud maze, near the left side of the wooden bridge · the Semtex/grenade room, on the outer wooden platform. Once per match.
- Hold Use on 3 meteorites, in any order
- Starting room — near Quick Revive
- By the bridge — near the moving walls
- Mining / pad area — the room past the AK-74u, in the broken wall across from the Semtex outline
- 'Pareidolia' by Elena Siegman plays
Monkey stealing
Shrieker-summoned monkeys grab power-ups and transform them as they run — kill the monkey to get the (possibly upgraded) drop back, or lose it if it escapes. Grabbing a transformed drop earns Monkey See, Monkey Don't.
Map achievements
Zomb Disposal — kill a Napalm Zombie without letting it damage a player. Small Consolation — use the 31-79 JGb215 on a normal zombie, a Shrieker, a Napalm Zombie and a zombie monkey. Blinded by the Fright — kill a Shrieker while blinded by its scream.
Worth knowing
Napalm and Shrieker zombies debut; the minecart is a fast escape; the water slide and geysers are traversal tools. The Focusing Stone grants its holder every perk permanently.
Recommended loadouts
Three strong picks for this map — the map's Wonder Weapon plus reliable box/wall options. These are pre-augment-era games, so the setup is the gun plus Pack-a-Punch and perk synergy.
31-79 JGb215
Map-exclusive shrink rayBox. Shrinks a zombie then lets you stomp the group — the signature Shangri-La wonder weapon and a monster at any round.
Ray Gun
All-roundBox splash for the tight jungle paths and minecart holds.
Thundergun
Panic buttonBox. Clears the narrow maze corridors when you get pinched.
When it isn't working
The stalls that actually cost people runs on this map, and what to do about each.
We can't start the eclipse steps
Matching-plates step keeps resetting
Gongs rung but crystals aren't charged
Dynamite fell and vanished
Common Shangri-La questions
Direct answers to the specific things players look up mid-game — part locations, puzzle steps and more.
Can two or three players finish the Shangri-La Easter egg?
Which perks move around on Shangri-La?
What are the special zombies on Shangri-La?
How do the geysers and the mine cart work?
What is at the bottom of the water slide?
Why can I not buy PhD Flopper on Shangri-La in Black Ops 3?
What is the reward for the Shangri-La Easter egg?
Visual guides & sources
Screenshots and exact part locations live in these — open one on a second screen.
Map discussion
A shared community board for Shangri-La — posts are public, saved on the server and visible to everyone across devices. Handy for strategies, spawn variations you've noticed, or steps to double-check. Please keep it civil and on-topic.