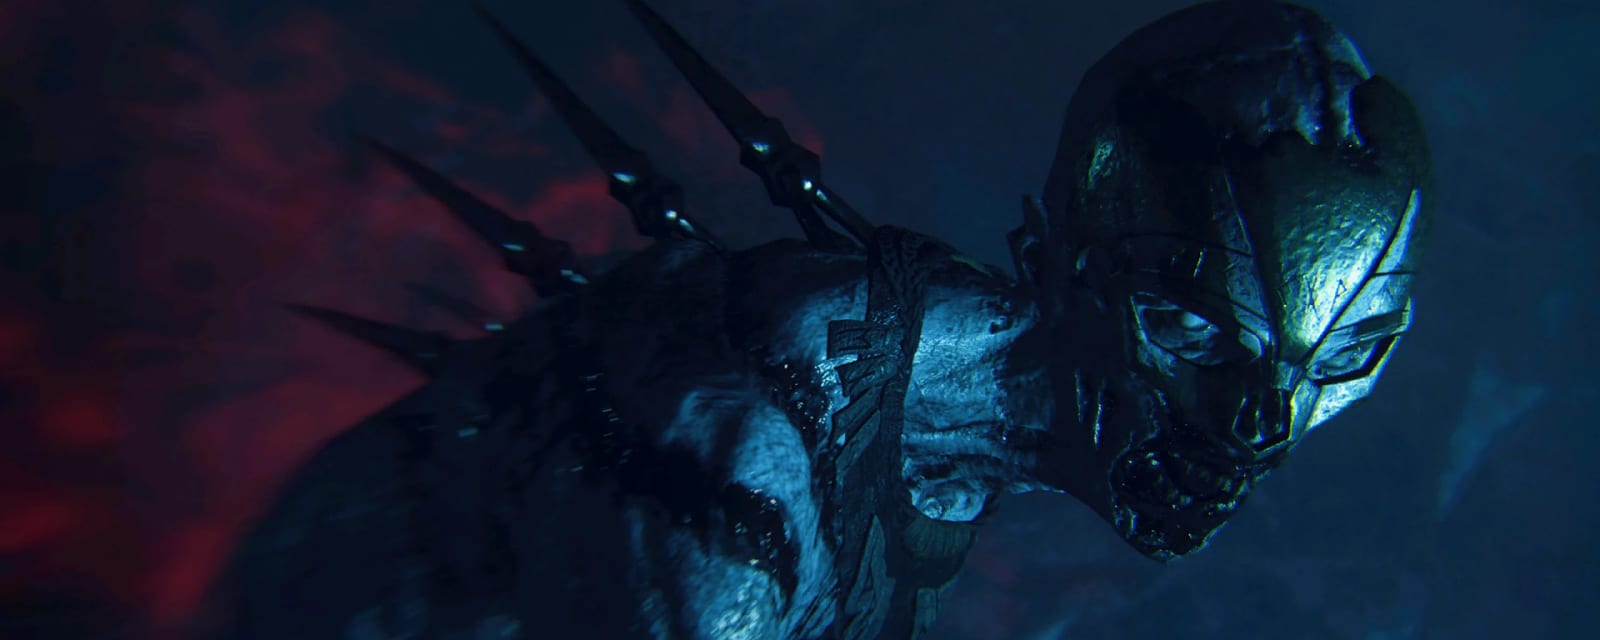
The Frozen Dawn
The finale of WWII Nazi Zombies — an ancient icy Thulian temple. Blood rituals, ravens and a dormant God-King replace the usual pacing; the Kingfall quest forges and upgrades four melee Wonder Weapons to open the path to the throne.
Quick answers
The Frozen Dawn is the finale of WWII's Nazi Zombies — an ancient Thulian temple buried in Antarctic ice. Instead of the usual pacing it runs on blood rituals and raven trials: the Kingfall quest forges four melee Wonder Weapons, upgrades each one, and slots all four into the Ice Caves pedestals to open the path to the God-King. Rated Very Hard, 60–95 minutes, solo-capable.
How do you complete the The Frozen Dawn Easter egg?
- Open Thule (spawn button + kills)
- Raise Pack-a-Punch (3 Lost In Blood trips) + fast travel
- Flail → Talon of Lu'roth
- Hammer → Fist of Tal'rek
- Scythe → Fang of An'heist
- Shield → Roar of Sang'ket
- Slot all four in the Ice Caves pedestals
- The Morgue chamber opens; re-collect the weapons
What is the Wonder Weapon on The Frozen Dawn?
Who is the boss on The Frozen Dawn?
How long does the The Frozen Dawn Easter egg take?
Can you do the The Frozen Dawn Easter egg solo?
What are the main areas on The Frozen Dawn?
How many side Easter eggs are on The Frozen Dawn?
When was The Frozen Dawn released?
Key areas
Spawn / Passage
Starting room — stand on the button and clear zombies to open Thule; Pack-a-Punch access is here.
Crash Site
A downed drop-pod — the Hammer battery, the Scythe's wire and a fast-travel chamber.
Morgue
A lower alcove of vase-corpses — the BloodRaven Stone, the shooting-gallery and a Blood Pool.
Overlook / Phylactery
The ledge over the giant blood pool — the cauldron, the Blood Altar, the Deathraven Forge and the raven statue.
Orrery / Thulian Archive
The astronomical machine and gear room central to the Flail quest; Schnellblitz.
Ice Caves
The ceremonial chamber with the four Wonder-Weapon pedestals and the sealed boss chamber.
Steps at a glance
- Open Thule (spawn button + kills)
- Raise Pack-a-Punch (3 Lost In Blood trips) + fast travel
- Flail → Talon of Lu'roth
- Hammer → Fist of Tal'rek
- Scythe → Fang of An'heist
- Shield → Roar of Sang'ket
- Slot all four in the Ice Caves pedestals
- The Morgue chamber opens; re-collect the weapons
- Enter and fight the God-King
- Defeat him → Kingfall
Before you start
What to have in hand before step 1 — from the loadout notes, from the walkthrough itself, and from the map's own quest documentation where the gate is never stated in a step.
- Buy Lebenblitz (the self-revive perk) on the burning zeppelin engine at Crash Site before anything else — 500 solo, 1,500 co-op. — from the map's own quest documentation
- Keep the Passage wall-stone glowing red through all three Thulian Transport rides — that is what raises the Übersprengen (Pack-a-Punch) a stage each ride, and return trips also drop two uncharged Corpse Eaters worth grabbing. — step 2
- Roar of Sang'ket slots onto the stone floor circle in front of the Ice Caves pedestals, not a fourth pedestal — get this wrong and the set will not read as complete. — step 7
- A new Thulian Transport by the Morgue door activates only once all four weapons are slotted — taking it is the point of no return, so fully prepare first (armour, a Pack-a-Punched firearm, specialists, one Raven weapon per player). — step 8
- Phase 5 (co-op only) has every God-King attack overlapping at once — solo never sees this compounding. — step 8
Set aside 60–95 min · 1–4 (solo-capable)
Full walkthrough
The quest in the order this guide runs it — tap any step to jump to it, and it fills in as you tick steps off.
Open Thule
Stand on the circular button in the spawn room and kill ~5-6 zombies to open the way into Thule.
Pack-a-Punch (Übersprengen) & fast travel
Push the wall stone in the Passage (in front of the Thulian Transport) inward until it glows red, then ride all three Thulian Transports once — Passage→Blood Altar, Blood Altar→Crash Site, Crash Site→Passage — each ride raises the submerged Übersprengen in Lost in Blood a stage. Keep the Passage stone red to reach the fully-raised machine; every return trip also drops two uncharged Corpse Eaters (handy for the weapon steps).
Flail → Talon of Lu'roth
Place two books in the Archive pillar, collect three gears for the Gearworks, spin the Orrery with kills, and solve the orb puzzle (match the R/Y/P/G orbs to the Cypher Room). Upgrade via the Moonraven constellation trial for the Talon of Lu'roth.
Hammer → Fist of Tal'rek
Charge the Crash Site battery in the Overlook cauldron, insert four stone tablets to reveal runes, kill at the matching runes, then rotate the four pillars to align the lightning-bolt image. Crouch-walk the hammer back to claim it, then do the Stormraven trial for the Fist of Tal'rek.
Scythe → Fang of An'heist
Activate the Deathraven Forge and survive the waves; kill a Corpse Eater with the scythe for its spine, add the Crash Site wire, and charge the altar. Complete the Deathraven trial for the Fang of An'heist.
Shield → Roar of Sang'ket
Fill the three Blood Pools (the Overlook one needs the BloodRaven Stone), kill the Wüstling at the Blood Altar for the base shield, lead charged Albino Thulians to the steaming pool, match the radio symbols to the pools, and take a down at a pool for the Roar of Sang'ket.
Slot the weapons
Take the four upgraded weapons to the Ice Caves cliff: place Fang of An'heist, Fist of Tal'rek and Talon of Lu'roth on the three cliff pedestals, and Roar of Sang'Ket on the stone floor circle in front of them. A new Thulian Transport then activates left of the Morgue door — the point of no return.
Defeat the God-King
Fully prepare (armour, a Pack-a-Punched firearm, specialists, one Raven weapon per player), then all players take the new transport; unused Raven weapons spawn by the arena transport to swap freely. Every phase runs the same plate loop: damage the God-King until he moves to the centre and starts consuming blood, then shoot the three glowing pressure plates (the centre one beneath him plus the two by the transport sides) until all go dark to stun him — burst everything during the stun, then grab the Max Ammo / Full Meter. Each phase adds a mechanic: 1 electric bolt + bomb lob only · 2 an aerial wipe (block it with the Shield or hide behind an ice pillar) · 3 purple-shielded zombies (throw the Fist of Tal'rek through them) · 4 he reaches the throne and casts an instant-down wall of fire (the Talon of Lu'roth owner throws the orb past it, teleports to the throne and damages him) · 5 (co-op only) all attacks overlap. Finally he pulls the team in, drops everyone to 1 HP and kneels — the instant control returns, shoot the seated God-King until he dies (hesitate and it's a wipe).
Side Easter Eggs & extras
Everything beyond the main quest. Tap any entry to open the full how-and-where breakdown.
The four melee relics
Flail → Talon of Lu'roth, Hammer → Fist of Tal'rek, Scythe → Fang of An'heist, Shield → Roar of Sang'ket — each a multi-step build-and-upgrade feeding the main quest.
Raven's Claw → Raven's Eye
Activate the Overlook raven statue, then shoot four flying ravens with a pistol only (each drops a charged Thulian); four Gold Ravens = the Raven's Claw. Pack-a-Punch it into the Raven's Eye.
- Activate the raven statue on the Overlook rock that faces the volcano
- Shoot four flying ravens with a PISTOL only (they spawn randomly among 20+ spots)
- Each downed raven spawns a charged Thulian — kill it, and a Gold Raven statue appears in the Blood Altar
- Four Gold Ravens = claim the Raven's Claw pistol; Pack-a-Punch it into the Raven's Eye (headshots summon attacking ravens)
Dark Room — all 6 perks
Charge three pressure plates red — Crash Site by the Thule entrance, Blood Altar by Double Tap, and behind the Overlook Shield pool (reached by Flail teleport) — to open a transport in the Overlook↔Phylactery hallway. Carry 10,000+ Jolts and ride it (it takes ~6,916); in the Dark Room take the four metal nails (three on pedestals, one in a skull) and place them on the ‘Blood is Power’ pedestal for all six Blitz perks. (The Moonraven Trial itself is the Flail’s upgrade, done in step 3.)
Corpse shooting gallery (Vintage MG42 / Classic PPSh)
On the Morgue bottom floor the two open corpses are mutually exclusive (one per game). Drop Jolts to start, then over three rounds shoot only the target-colour eyes: the left corpse (shoot blue, ignore red) gives the Vintage MG42; the right corpse (shoot red, ignore blue) gives The Classic PPSh-41. The chosen weapon joins the Mystery Box pool.
Blitz machines
The map's perks — Schnellblitz, Kugelblitz, Schildblitz, Lebenblitz, Laufenblitz, Faustblitz and a Random Blitz (the free-perk route is the Moonraven Trial).
Recommended loadouts
Three strong picks for this map — the map's Wonder Weapon plus reliable box/wall options. These are pre-augment-era games, so the setup is the gun plus Pack-a-Punch and perk synergy.
The four melee relics (upgraded)
Wonder WeaponsTalon / Fist / Fang / Roar — the map's melee wonder weapons; the Fang auto-revives with a blast when you're downed. Build them in parallel in co-op.
BAR (PaP)
All-round mainRapid Fire + extended mag; Pack-a-Punch for the ammo pool the long trial grinds need.
MG42 (PaP)
Horde controlA big-mag LMG for training zombies during the trials; the Vintage MG42 from the shooting gallery is a novelty, not a fighting gun.
When it isn't working
The stalls that actually cost people runs on this map, and what to do about each.
The Übersprengen won't finish rising
The fourth Raven weapon won't slot
Can't tell when the God-King is vulnerable
Insta-downed near the throne in phase 4
Can't complete the Roar of Sang'ket shield
Common The Frozen Dawn questions
Direct answers to the specific things players look up mid-game — part locations, puzzle steps and more.
What should I buy first on The Frozen Dawn?
What are the four Thulian weapons?
How does the Orrery work?
What is in the Morgue?
How do I reach the Übersprengen?
What are the Thulian Transports?
What are the perks called on The Frozen Dawn?
Which map comes before The Frozen Dawn?
What does the Talon of Lu'roth open?
Visual guides & sources
Screenshots and exact part locations live in these — open one on a second screen.
Map discussion
A shared community board for The Frozen Dawn — posts are public, saved on the server and visible to everyone across devices. Handy for strategies, spawn variations you've noticed, or steps to double-check. Please keep it civil and on-topic.