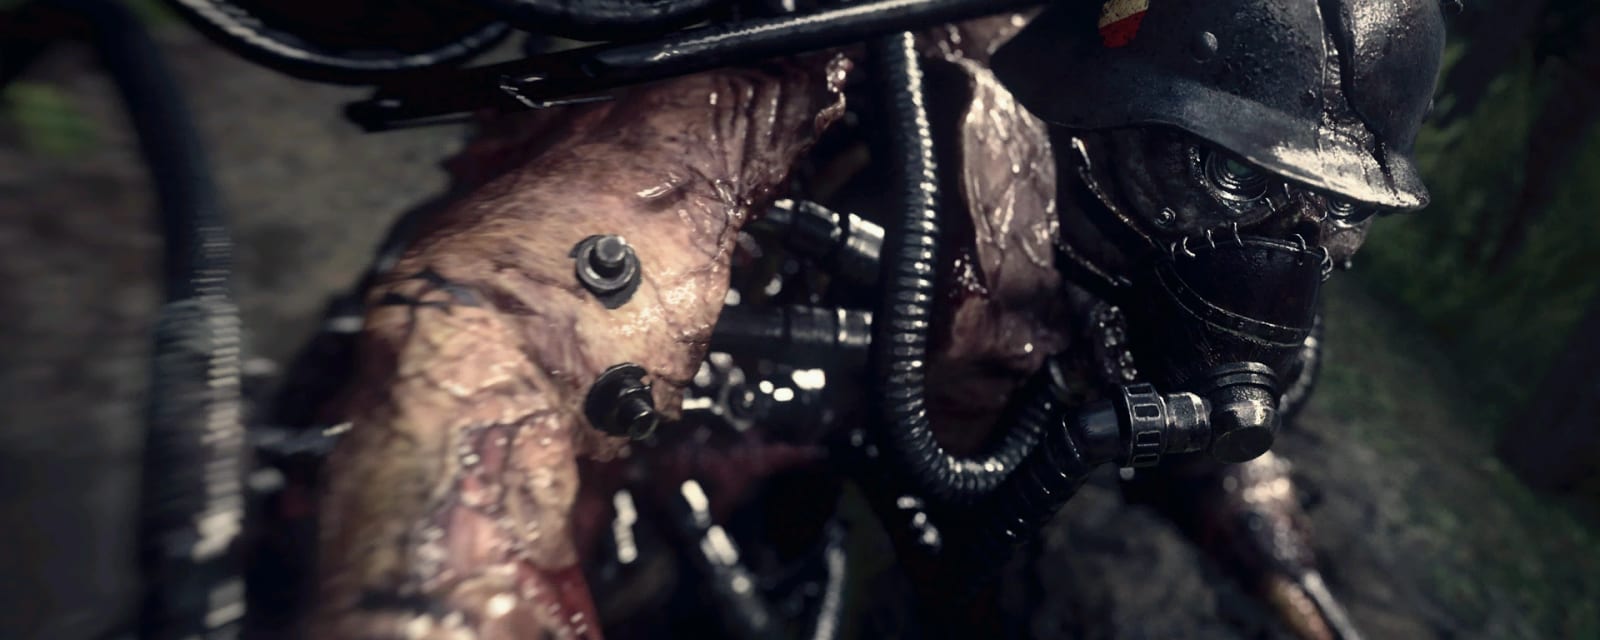
The Tortured Path
Not a normal round-based map — a linear three-stage survival gauntlet (~11 waves) across a storm village, a U-boat deck and an icy temple. The 'I Have the Power' quest assembles the Sword of Barbarossa to slay the self-healing Guardian.
Quick answers
How do you complete the The Tortured Path Easter egg?
- Charge the 3 batteries (Waves 1/4/7) → Pack-a-Punch (each stage)
- Storm: collect 6 zombie body parts
- Storm: two ropes + two rods; align two Wüstlings for the arm-club, jam the windmill
- Storm: raise the corpse, escort the revived zombie → the Hilt
- Storm: beat the Raketenbrenner (airstrike his shield) → advance
- Depths: enter Barracks vision, shoot the 9 fish
- Depths: charge 3 Red Herring stations, clear the island gauntlet + cup game → the Pommel
- Depths: beat the Stadtjäger boss → advance
What is the Wonder Weapon on The Tortured Path?
Who is the boss on The Tortured Path?
How long does the The Tortured Path Easter egg take?
Can you do the The Tortured Path Easter egg solo?
What are the main areas on The Tortured Path?
How many side Easter eggs are on The Tortured Path?
When was The Tortured Path released?
Key areas
Into the Storm (Stage 1)
A storm-lashed windmill village — charge a corpse on the windmill blade to earn the sword Hilt.
Across the Depths (Stage 2)
A U-boat / ship deck — the fish tasks and a shell game yield the Pommel.
Beneath the Ice (Stage 3)
An icy ritual chamber — rune-door puzzles and sacrificial pads yield the Blade, then the Guardian fight.
Waffenbox & B.A.T. drops
Type-based weapon boxes (AR/shotgun after wave 3, sniper/LMG after wave 6) replace the Mystery Box; objective waves drop B.A.T. Ordinance care packages (the Tesla Gun variants come from these).
Blitz machines
WWII's perk machines — the Hilt grants all Blitz perks, and the Pommel grants all perks and becomes your tactical grenade.
Steps at a glance
- Charge the 3 batteries (Waves 1/4/7) → Pack-a-Punch (each stage)
- Storm: collect 6 zombie body parts
- Storm: two ropes + two rods; align two Wüstlings for the arm-club, jam the windmill
- Storm: raise the corpse, escort the revived zombie → the Hilt
- Storm: beat the Raketenbrenner (airstrike his shield) → advance
- Depths: enter Barracks vision, shoot the 9 fish
- Depths: charge 3 Red Herring stations, clear the island gauntlet + cup game → the Pommel
- Depths: beat the Stadtjäger boss → advance
- Ice: break the vision battery, solve the rune door, forge the Hilt
- Ice: flares into 4 Forge bowls + a 5th ground bowl → a Rune
- Ice: four sacrifice pads + final rune door → the Blade
- Assemble the Sword of Barbarossa, beat The Guardian
Before you start
What to have in hand before step 1 — from the loadout notes, from the walkthrough itself, and from the map's own quest documentation where the gate is never stated in a step.
- Charge the three per-stage batteries only on Waves 1, 4 and 7 — don't hunt the next one early; Übersprengen (Pack-a-Punch) only comes online once the third is full on Wave 7. — step 1
- Don't let the Storm chapter's revived zombie die before its carried battery glows green, or you have to restart the whole chapter. — step 4
- The rune shapes and sequences on Beneath the Ice are randomised each match — read the live symbols, don't rely on a fixed key. — step 9
- Don't stand on the ship-deck Stadtjäger's landing point — it can instantly down you, and this version is not gated by Zeppelin phases like Shadowed Throne's. — step 8
- Later boss heals light more pillars at once, so split targets between players in co-op. — step 12
Set aside 60–100 min · 1–4 (solo-capable)
Where your run will differ
Gathered here so you meet them before they cost you a run rather than after — quoted word for word from the guide below, or researched from the map's own quest documentation.
What changes with your player count. The rest of the guide is the same either way.
- “Later heals light more pillars at once, so split targets in co-op.” step 12
Full walkthrough
The quest in the order this guide runs it — tap any step to jump to it, and it fills in as you tick steps off.
Batteries → Pack-a-Punch
On every stage, charge the three batteries (they activate on Waves 1, 4 and 7 only — don't hunt the next one early) by killing ~10 zombies beside each until its green top light goes out. Übersprengen (Pack-a-Punch) comes online once the third battery is full on Wave 7; upgrade the boss weapon before Wave 10.
Storm — the 6 body parts
Collect 6 zombie parts (2 arms, 2 legs, torso, head) from randomised spots — under wooden stairs, the wine cellar, the fireplace, etc.
Storm — jam the windmill
Shoot the first rope off the tree behind the windmill (Wave 1); on Wave 2, hold-interact the submerged branch at the river left of Double Tap and take the second rope once it rises. Two rods come from the drop pod by the dead cow left of Quick Revive (Wave 3). Keep two Wüstlings alive: line them up with the victim in front, shoot the rear one so its charge kills the front one, and take the dropped arm-club. Jam the club into the windmill gears only when the longest blade points straight down, then load the torso, head, two arms, two legs, both ropes and two rods onto the blade.
Storm — lightning-charge → the Hilt
Retrieve the club so the windmill turns, then stop it with the body blade at the top (~20s later). Lightning strikes the corpse and knocks it down: on Wave 6 kill zombies beside it to charge it, on Wave 7 escort the revived zombie as it walks to the broken-house fireplace (Wüstlings ignore Frontline and attack it directly), and on Wave 8 kill zombies near it until the battery it carries glows green. Only then let it die, take the battery and slot it into the Wine Cellar generator — the hidden door opens for the Hilt (all Blitz perks this chapter). If the friendly zombie dies before the battery is green, restart the chapter.
Storm — the Brenner boss
Around Wave 10 the Raketenbrenner arrives behind a gravity shield, so normal fire is wasted. Lead him into the large red airstrike circle and stay near its lighter edge; the bombing strips his shield and staggers him. Throw a Jack away from the team, pop Freefire/Frontline and burst his head, then repeat the cycle until he dies. Extract on Wave 11 and return to the same lobby.
Depths — Überschnalle & the fish
In the back-left Barracks, melee the battery on a box — every player must interact to enter electrical vision (the view widens and some zombies turn invisible). Then shoot all nine spectral fish around the ship while vision is active (re-enter at the Barracks battery if it fades) and end the round by the lower-deck Jeep.
Depths — feed the fish → the Pommel
Follow the airborne Red Herring fish, which drops three charging stations in turn (red-floor room → Barracks → bottom of the Cafeteria stairs). At each, buy the active battery wallbuy for 3,000 Jolts and kill ~8-10 zombies beside the station; fill the third no later than Wave 8. The team teleports into the island gauntlet — clear the Final Reich island (Straub + Wüstling), the Darkest Shore island (Meuchler) and the Shadowed Throne island (Sizzler) — then win the cup game: watch the fish enter a cup and shoot it after the shuffle stops, three rounds. Take the Pommel from the table crate (all perks + it becomes your tactical).
Depths — the Stadtjäger boss
Don't stand on the boss's landing point — it can instantly down you. This Stadtjäger has less health than the Shadowed Throne version and isn't gated by the Zeppelin phases, but it charges and throws electrical sticky projectiles. Open with a Jack, pop Freefire and focus the chest/head while circling the outer deck; break line of sight when stickies build up, and never back into the narrow PaP room with it behind you.
Ice — rune door & forge
In the Forge Room, melee the vision battery three times until it breaks — a broken battery grants rune vision every two waves. Sweep the fourteen rune positions for the glowing symbol, record it, and enter the full sequence at the Rune Room wall. A wrong input is cleared by interacting with any rune until all symbols depress and return. On Wave 3, take the Hilt from the ceiling supply crate and place it in the glowing Forge bowl.
Note: the rune shapes and sequences are randomised each match — read the live symbols, don't rely on a fixed key.
Ice — flares → a Rune
Take the flares (they replace your tactical, carried two at a time) from the stairs between spawn and the Forge. Throw one into each of the four stone bowls below the Forge face statues, then into a fifth bowl that appears on the ground near Stamin-Up. The wall left of Stamin-Up opens — mount the revealed rune on the Rune Room wall, re-enter vision and solve the second code (excluding runes already used).
Ice — sacrificial pads → the Blade
Place the Pommel (from the next supply crate) in the Forge bowl, then find the four sacrifice pads: every player must stand on an active pad simultaneously and rack up kills without stepping off (listen for the completion cue — there's almost no progress display). Take the rune from the Forge blood pool, solve the third code, then place the Blade from the final crate and interact with the Forge to assemble the Sword of Barbarossa.
Defeat The Guardian
Start near spawn so the Guardian runs into the open. Damage it while circling; when it retreats to the centre and heals from the red-glowing overhead pillars, destroy every lit pillar (an explosive upgraded pistol or the Hurricane Tesla is ideal) to interrupt the heal and knock it down ~10s — then Jack, Freefire and unload on its head. Later heals light more pillars at once, so split targets in co-op. Kill it, then hold the Wave 11 extraction circle to escape.
Side Easter Eggs & extras
Everything beyond the main quest. Tap any entry to open the full how-and-where breakdown.
Tesla Gun & variants
The wonder weapon — the Tesla Gun and its upgraded variants (Hurricane, Reaper and more) drop from B.A.T. Ordinance care packages awarded for clearing objective waves (no build station on this map).
The Hilt & Pommel
Picking up the Hilt grants all Blitz perks for the game; picking up the Pommel grants all perks and makes the Pommel your tactical grenade — both come from the main quest.
Red Herring & cup game
On Across the Depths, charge three Red Herring battery stations (3,000 Jolts each), clear the Final Reich / Darkest Shore / Shadowed Throne island gauntlet, then track the fish through the shuffled cups for three rounds to win the Pommel.
“The Classic” PPSh-41 (Tortured Path)
After an objective Wave (3, 6 or 9) a flare marks the resupply drop — place 1,750 Jolts on the flare to add The Classic PPSh-41 to the random SMG weapon-station pool (it isn’t delivered directly).
Rune-door puzzles
On Beneath the Ice, read the runic symbols placed around the map and enter the matching sequence on the door buttons — the code is randomised each match.
Waffenbox & B.A.T. drops
Type-based weapon boxes (AR/shotgun after wave 3, sniper/LMG after wave 6) replace the Mystery Box; B.A.T. Ordinance drops from objective waves give weapons, Jolts, power-ups and the Tesla variants.
Darkened Path & Sanguine Skull
At Shattered Rank 50, activate the red skull at chapter start for The Darkened Path — faster, tougher enemies and harder objectives. Completing the full three-chapter quest on The Darkened Path unlocks the Sanguine Skull weapon charm.
Recommended loadouts
Three strong picks for this map — the map's Wonder Weapon plus reliable box/wall options. These are pre-augment-era games, so the setup is the gun plus Pack-a-Punch and perk synergy.
Tesla Gun — Hurricane variant
Boss & horde Wonder WeaponFrom a B.A.T. Ordinance drop — the Hurricane's orb does huge sustained damage in The Guardian's stun windows and clears trains. Save one for the finale.
BAR (PaP)
Reliable workhorsePack-a-Punch the BAR for steady mid-range damage on trains and boss weak points; pair with a Blitz reload/damage perk from the Hilt.
Lee-Enfield (PaP)
Precision for weak pointsHigh per-shot damage for the Guardian's statues and the Stadtjäger's head; Pack-a-Punch and run Deadeye-style Blitz perks.
When it isn't working
The stalls that actually cost people runs on this map, and what to do about each.
Copied an answer from another guide and it did not work?
Common The Tortured Path questions
Direct answers to the specific things players look up mid-game — part locations, puzzle steps and more.
How is The Tortured Path different from the other maps?
How do I get Pack-a-Punch on each stage?
Where does the Tesla Gun come from here?
What should I save for The Guardian?
What do the Hilt and Pommel give me?
How does the cup game work?
How do the rune doors work?
How do I get The Classic PPSh-41 here?
What is The Darkened Path?
Visual guides & sources
Screenshots and exact part locations live in these — open one on a second screen.
Map discussion
A shared community board for The Tortured Path — posts are public, saved on the server and visible to everyone across devices. Handy for strategies, spawn variations you've noticed, or steps to double-check. Please keep it civil and on-topic.