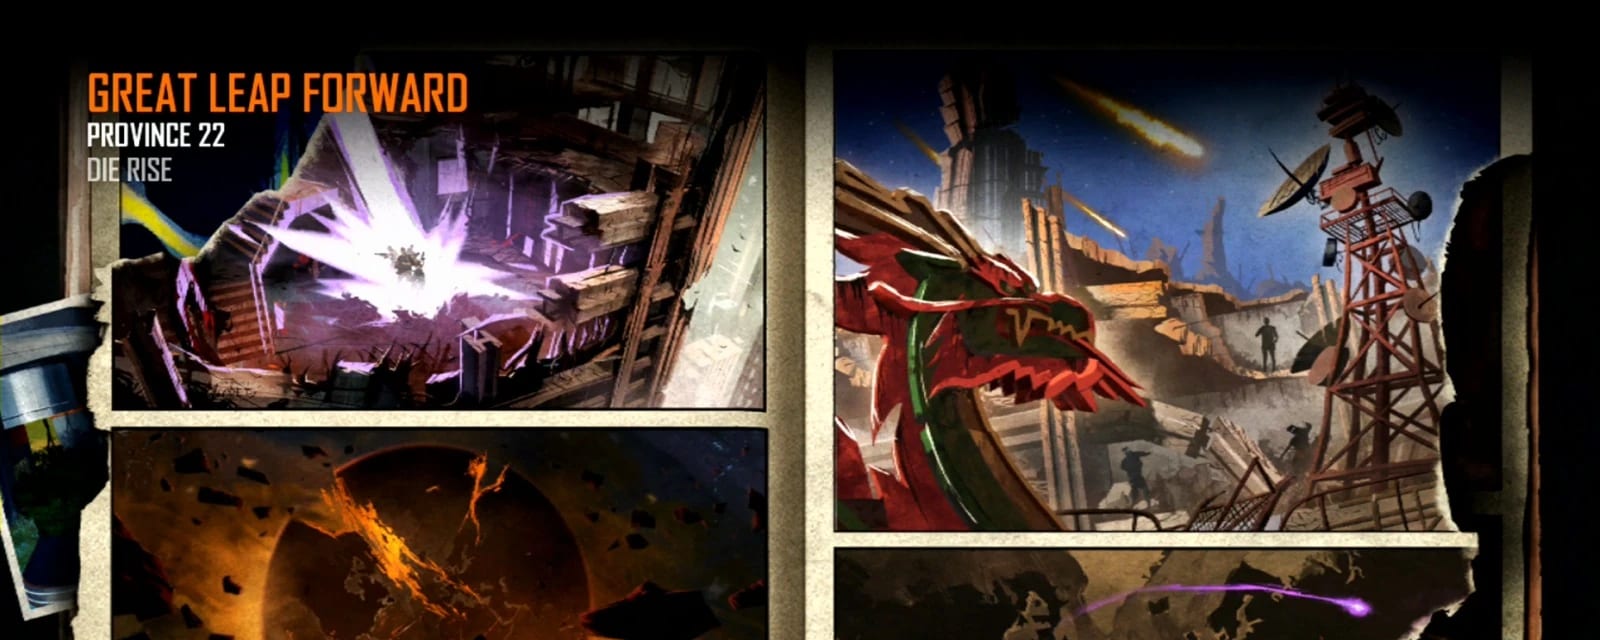
Die Rise
A collapsed Chinese skyscraper complex. Activate a second Pylon for Maxis (red) or Richtofen (blue). Both sides need four players.
Quick answers
How do you complete the Die Rise Easter egg?
- Shared — power, Trample Steam, link the elevators
- Step on the 4 floor symbols in the right order
- Shoot the dragon orbs, charge them, place on Trample Steams
- Place 4 Trample Steams on the zombie seals
- Read the Mahjong tiles for the tower order
- Punch the tower corners with Galvaknuckles → done
How long does the Die Rise Easter egg take?
Can you do the Die Rise Easter egg solo?
Is there a song Easter egg on Die Rise?
What are the main areas on Die Rise?
How many side Easter eggs are on Die Rise?
Are there solvers for the Die Rise puzzles?
When was Die Rise released?
Key areas
Rooftop Spawn (Tower 1)
Start on the roof; the crashing elevator shortcut down, passing the PhD tease floor; SVU wall-buy and teddy #1 nearby.
Elevator shafts & key elevators
Perk machines and PaP ride randomised elevators; shafts are the map's arteries.
Upside-down Buddha room
The wedged, inverted building section: Buddha statue room, central EE arena, teddy #2 at its edge.
Power Room
Power switch, Sliquifier bench, teddy #3 in the back corner; Bank showers + weapon-locker fridge one gap-jump away.
Freight elevator route
Freight elevator connecting power area to upper floors — the route the wiki cites for reaching Bank/locker.
Dragon signs / sniper balls
Rooftop dragon mouths holding balls shot with sniper rifles for High Maintenance.
Radio tower (Pylon roof)
Roof of the second tower with the Pylon/tower struck with Galvaknuckles in the quest.
Trample Steam benches / AN-94 floors
Workbench floors between towers where Trample Steams are built and placed. Only one guide lists this — worth checking in game.
Steps at a glance
- Shared — power, Trample Steam, link the elevators
- Step on the 4 floor symbols in the right order
- Shoot the dragon orbs, charge them, place on Trample Steams
- Place 4 Trample Steams on the zombie seals
- Read the Mahjong tiles for the tower order
- Punch the tower corners with Galvaknuckles → done
Before you start
What to have in hand before step 1 — from the loadout notes, from the walkthrough itself, and from the map's own quest documentation where the gate is never stated in a step.
- High Maintenance only runs on Original difficulty.
- Both sides need four players.
- Build the NAV table before starting the symbol steps, or they can fail to register.
Set aside 40–70 min · 4 (original BO2)
Where your run will differ
Gathered here so you meet them before they cost you a run rather than after — quoted word for word from the guide below, or researched from the map's own quest documentation.
What changes with your player count. The rest of the guide is the same either way.
- Both sides hard-require four players — the elevator rings and the simultaneous steps have no smaller version.
Full walkthrough
The quest in the order this guide runs it — tap any step to jump to it, and it fills in as you tick steps off.
Setup
Reach the Power Building and flip the power switch by the sewing machines. Build four Trample Steams (parts in the spawn building — one per player) and the NAV table on the dragon roof (meteorite, radio, board, electrical box). Grab the elevator key off a stopped car's roof to call cars, and only step on an elevator roof while it is stationary.
Elevator-roof symbols
Four elevators carry gold roof symbols — the Quick Revive shaft, the car by the Trample bench, the car by the power switch and the car by the MP5. All four players stand on the four marked roofs at once (cars stationary) until every symbol lights. Warning: an elevator car kills anyone standing on its roof as it reaches the top floor — that's the death players hit on this step, so only board a stationary car and step off before it rises.
Floor symbols
Stand on the four gold floor symbols (in front of Quick Revive, atop the Power Building, the cafeteria/kitchen, and outside the bank-shower room) in the correct order — random each game, so trial and error; a correct one stays lit, a wrong touch resets the sequence.
Dragon-mouth spheres
Buy the SVU-AS sniper on the dragon roof (a box DSR also works) and shoot the black sphere in each of the two dragon-statue mouths to dislodge both. Maxis and Richtofen then give route-specific instructions for what to do with the spheres — pick your side before placing any Trample Steams.
Maxis route (red)
In the Buddha room, get 15 kills with none outside the room to build energy (success quote: “Reincarnation will reveal the way forward”). Pack-a-Punch a Ballistic Knife into the Krauss Refibrillator and simply fire it in the Buddha room (at a zombie entering the room) — no teammate down or revive is required. Then set four Trample Steams on the four lion symbols aimed at the tower, place the two spheres on the spawn-room and bottom-escalator Trample Steams, and launch. The bottom of the Pylon glows orange — after the two spheres fling orange wisps between the buildings — as the Maxis-side confirmation.
Richtofen route (blue)
Build the Sliquifier in the Power Building and fire it into the black orbs beneath the two lion statues in the spawn room — roughly 20 shots each until they spin rapidly, at which point Richtofen requests a “Blood Sacrifice.” Then set four Trample Steams on the four zombie symbols aimed at the tower and launch zombies/players into them until the bottom of the Pylon glows blue.
Mahjong tiles
Find the Mahjong tiles (8 tiles across 11 possible spots). Photograph them and pair each numbered tile with its same-family direction tile — the numbers 1-4 give the order and the direction character (N/E/S/W) says which tower face. The tile at the tower base sets north.
Helper: Mahjong Solver
Mahjong Tower Order Solver
Die Rise — radio towerColour links a Wind tile (a corner) to a number tile (its position). Set the colour of each — the corner-punch order updates live. Leave one direction and one number blank and they fill by elimination.
Punch the tower
Buy Galvaknuckles (upside-down building) and punch the four tower faces in the decoded order — one hit per face, one attempt per round (a mistake means advancing a round and redoing the whole order). On completion the whole pylon surges in your side's colour (orange for Maxis, blue for Richtofen) → High Maintenance + all perks.
Side Easter Eggs & extras
Everything beyond the main quest. Tap any entry to open the full how-and-where breakdown.
“We All Fall Down”
Kevin Sherwood ft. Elena Siegman. Hold interact on the 3 teddy bears: by the SVU-AS on the dragon-roof / escalator approach, in the upside-down Buddha building near the broiler route, and in the Power Building room by the power switch. Once per match.
- Hold Use on 3 teddy bears, in any order
- Floor below the spawn room — on a shelf in the shop, by the SVU-AS
- Buddha room (upturned restaurant) — on a ledge in the corner of the tilted floor
- Power room — on a sewing machine
- 'We All Fall Down' by Kevin Sherwood plays
Jumping Jacks reward
On Jumping Jack (jumping zombie) special rounds, wipe the round with 100% accuracy — melee or Trample Steam are safest — and the last kill drops a free random perk bottle for each survivor.
- Jumping Jacks are leaping crawler enemies that first appear around rounds 5-7 and return every ~4-5 rounds
- They teleport short distances and swarm to surround you
- Kill an entire Jumping Jacks round with 100% accuracy — easiest by using only melee or the Trample Steam so you fire no shots
- The last one then drops a random perk bottle plus a Max Ammo
- (Who's Who is the map's self-revive perk — down while owning it to spawn a clone that revives your body)
Sliquifier
The buildable wonder weapon (Power Building parts) — its goo chains kills down slopes and is what charges the spheres on the Richtofen route.
Who's Who
A Die Rise-exclusive perk from a circulating elevator — when downed you spawn as a pistol-only doppelgänger who can revive your own body.
Bank, fridge & NAV table
The shower-room bank and the weapon fridge persist across TranZit / Die Rise / Buried; the dragon-roof NAV table is part of the Victis Navcard chain, not required for High Maintenance.
Trample Steam & elevators
Build four Trample Steams (they launch zombies at the pylon and double as shortcuts); ride only stationary elevator cars and grab the roof key to call one in an emergency.
Interactive solvers
Every solver for Die Rise, in the order you meet them. Each also appears inside its step in the walkthrough above — use whichever is handier. Browse every Zombies solver →
Mahjong Tower Order Solver
Die Rise — radio towerColour links a Wind tile (a corner) to a number tile (its position). Set the colour of each — the corner-punch order updates live. Leave one direction and one number blank and they fill by elimination.
Recommended loadouts
Three strong picks for this map — the map's Wonder Weapon plus reliable box/wall options. These are pre-augment-era games, so the setup is the gun plus Pack-a-Punch and perk synergy.
Sliquifier (buildable)
High-round chainBuild it from parts — goo chains kills down the towers and is one of BO2's best high-round wonder weapons.
Ray Gun
All-roundBox splash for the vertical trains.
An-94 / SVU (PaP)
WorkhorsePaP a strong rifle for the elevator and rooftop holds; Trample Steams double as shortcuts.
When it isn't working
The stalls that actually cost people runs on this map, and what to do about each.
The symbol/elevator steps do nothing
Floor-symbol order wrong every time
Tower punched in the right order but nothing happened
Can't read the Mahjong tiles
Trample Steam step won't confirm
Common Die Rise questions
Direct answers to the specific things players look up mid-game — part locations, puzzle steps and more.
Where is the power switch on Die Rise?
Where is Pack-a-Punch on Die Rise?
Why do I keep dying on the elevator roofs?
How do I build the Sliquifier?
What is Who's Who?
How do I read the Mahjong tiles?
How many attempts do I get at punching the tower?
How do I get the free perk from Jumping Jacks?
Where are the three teddy bears?
Does the NAV table matter for High Maintenance?
Visual guides & sources
Screenshots and exact part locations live in these — open one on a second screen.
Map discussion
A shared community board for Die Rise — posts are public, saved on the server and visible to everyone across devices. Handy for strategies, spawn variations you've noticed, or steps to double-check. Please keep it civil and on-topic.